House

House

Wednesday, June 20, 2018

A long climb

After knocking out a bunch of smaller tasks, we turned back to one of the last major projects in the house - the stairwell.  The stairs seemed like a good idea at the time we were building them - a version of a U shaped staircase with two landings per level (not one, as is more common).  And the framing itself went moderately well, although a few measurement tweaks had to be made on the fly.  But then it came time to start the finish work - adding the stair treads, the stair backings, the trim pieces, the posts, the rails...and the enormity of the task became clear.  This was no weekend project.

After much contemplation and more than a couple of false starts, we've not only made a lot of progress but the stairs are nearly done.  And, most excitingly, we had our final inspection on the house a few weeks ago and passed!  Everything, including the stairs, checked out to code and now our permits are officially closed out.  There's still some trim and a fair amount of painting to be done but the summer is looking like it may be a little more relaxed (at last).  But first, an extremely long post to document this project.  We're still not quite finished yet - there will be more trim and then paint on everything, but this should get us caught up for now.  And at the end - more puppy pictures!


Stair treads in place, makeshift 2x4 rails that have been in place for...let's just say a fair amount amount of time (it's been a very long time).  Plus a very important and stylish cardboard puppy guard to keep little ones from running off the edge of the floor and plunging to the basement below

Starting to trim out the side wall with wainscoting for an accent

Dryfitting the posts and getting set up for the rails.  We used a piece of yuca board to help figure out the height and slope of the rails so we could determine the correct height of the posts.  The board was a great trick and made it easier but...this was not easy even with the board.  A serious downside of this stair design is that there are many individual stair runs, each of which had to be measured for each post.  Not for the faint, or impatient, of heart

Getting ready to cut the posts.  We had planned to custom build the posts but found these available at a relatively nearby woodshop.  Buying them was a great decision as it saved some time on an already incredibly time consuming project

Getting the post into place after cutting the bottom to fit and checking that the rail will hit in the right spot

Moving to the second floor (and looking down), we needed to get the floor trim pieces into place on the edge of the floor before putting the posts and rails in.  A lot of blue tape died for this cause.

And now getting the anchors for the posts into place
An army of posts in place
Starting to custom stain the now cut oak handrails.  We used the same stain we've used elsewhere in the house, a mix of Kona and Walnut
Installing the handrails

More handrails

Yep, more handrails

Setting up a jig to cut the balusters
Working on install

Getting everything set on, yes, another run (so many runs)
And now moving to the rest of the trim work - setting up custom ripped pieces to box out the columns

Working on trimming out the ceiling - getting lots of use out of the Starrett angle finder on this project

And back to the columns - this does not look finished yet

Getting the trim into place

Now that looks good!
But still not done yet - time to get back to trimming out the walls

More detail

And yet more detail - on both the underside of the stairs and the stair walls behind it
As Brian has been hard at work, I've been hard at play with these foster puppies!

This is Sadie, a rottie mix, who was so cuddly that she may have convinced us to let her sleep on the bed.  I'm a softie.
Puppy playtime
And then we had this pair of siblings - Marley (on the left) and Charlie (on the right).  These were our youngest puppies yet at seven weeks and they were sweethearts, even if rather babyish.   
Look at these adorable faces!  Makes getting up several times a night a lot easier when it's to care for this level of cuteness.  Although I was still delighted to sleep through the night once they were adopted


Friday, March 16, 2018

Inching towards the finish line

We're at that point where most projects are really a series of small but seemingly never-ending tasks.  Floor trim, crown moulding, so much paint...it's all decorative touches but it all needs to be done.  Now that the basement is finished, we moved back to the first floor and one of the larger projects left was to finish the fireplace.  It's essentially the same design as the basement fireplace, complete with another reclaimed wood beam for the mantel.


Getting started with boxing out the trim
And now adding all the 1 x 4 trim pieces

Have to finish the beam before it can go up
And here it is, all assembled!
And a picture from the side
Moving forward on another project, we went back to the mudroom and added crown to complete the built-in look.  Just need some paint in here and this room will be done.

Built-ins complete!
And now for the best part - we were slightly (or completely) distracted for a couple of weeks while we fostered a puppy for our local animal rescue group (Homeward Trails).  She's now happily in her forever home but it was impossible to get much work done with the cutest puppy in the world around (and we didn't try very hard either).

Look at this face!  Cutest. Puppy. Ever. 

Thursday, January 18, 2018

Master bedroom finishes

This is a seriously overdue post - I thought that I had put this post up months ago until I went looking for a paint color, couldn't find it, and got irritated at my own blog neglect.  So here it is now, after much searching (and frustration) to find said paint color.  New Year's resolution - document paint colors in a timely fashion before I forget them!

But, before we painted, we decided to trim out one of the walls before we finished it to provide an accent.  We went back to an old trick and ripped floor trim to create the wainscoting on the wall before painting everything.  It turned out really well and, since this post is nearly a year late, I can report that we're still very happy with the detail and the color.

Getting the wainscoting in place, with all the furniture piled in the middle of the room

And setting up to paint

Painting in progress!

First coat on!  The color is Sherwin-Williams Knitting Needles.  KNITTING NEEDLES.  May I never forget.  

And done!  Time to move everything back.  If we remember, we'll update with a current "after" photo at some point!

Tuesday, January 16, 2018

Fireplace finishes

One of our favorite things about this house is that it has two wood-burning fireplaces.  One of our least favorite things, though, is that both fireplaces have (or had) basic red brick surrounds.  So we decided to upgrade them by building and tiling custom surrounds for each (and saved ourselves some design headaches by using the same materials and design for both too).  We went with a matte black hexagon tiles for the hearth, along with a marble edge, and a white marble arabesque tile for the side surround.  As with our last house, we bought reclaimed beams to use for mantels and we're really happy with how it's all turning out!

Floor first - laying the hearth

So pretty!

Now with cement board and ready to start tiling the sides

Laser level is a must with this arabesque tile

All in!  Just awaiting grout (snow white, if you're wondering what color grout)

Moving onto the basement fireplace - the new drywall was already in so we wound up making this a little bigger and wider than we probably would have otherwise

We didn't take many (or any) in progress pictures but it looked like the one above - cement board behind, now tile in front

Continuing to build out the trim

And dry-fitting the mantel

Just about done!
Mantel installed and trim paint completed  
Now we just need to pop in a fireplace insert and this one will be done!  The first floor fireplace still needs the trim to be installed and painted, along with the mantel added, so those pictures will have to wait until later.  And here in the basement, you can see some other progress - we've built it out to have a main room (in the picture), bedroom, full bath, and a theatre room.  We installed some of the same wood flooring in front of the bar nook but the rest of the floor (other than the bathroom, of course) will be carpet so installation will be quick.  While I'm here, I might as well include a picture of the basement bath - since the ceiling height is a little low, at least relative to the other two floors, we went with a beveled 4x10 white subway tile on the walls and a greige hex on the floor.  It's a simple but hopefully inviting look!   


Basement bathroom almost done too!

Small bathroom solutions

As so often happens in construction, we had to figure out how to solve a problem created by our contractor.  Our original plans showed a normal sized half bathroom on the first floor, approximately 55" x 68" - as built, the half bath was far narrower at only about 45" (a situation created because the contractor teed off the side walls and worked inward - and never checked the interior measurements).  You can imagine how annoyed we were when we went to install the toilet and realized that it didn't have enough clearance in front - and as a result, we basically closed the door and ignored the problem room for several months until we felt ready to deal with it again.  After a fair bit of research and plotting, we came up with a solution - one that, happily, has turned out really well.  And we will be checking every measurement for any framing we do not personally do from now until the end of time.

We were somewhat lucky in that the half bath backs up to a full bathroom and the toilet is located on the same wall as the tub.  We were even luckier that we hadn't tiled that tub yet, so it was easy enough to pull off the drywall and see what was in the studs and even better, the only thing there was a vent pipe, which could be easily moved.

Rerouting the vent pipe

Now with more space to work
We decided to install an in-wall tank toilet system with the ME by Starck compact rimless toilet (don't ask me to explain the capitalization in the toilet name).  The toilet is the shallowest depth on the market today at just under 19" in length.  By code, we needed 21" in front of the toilet but that would have felt very cramped so using this toilet gave us a much more comfortable 26" of space.

Now with the Geberit Duofix in-wall tank installed - they make these tanks for 2x4 walls (as well as 2x6) so it was relatively easy to install into the existing space

Getting ready in the half bathroom - among other changes, we had to move the toilet drain from the expected installation to the in-wall installation

Toilet fits on the wall!
And now with floor repaired and vanity (also cut down) installed.  Just waiting on trim and countertops to finish!

Thursday, January 11, 2018

The last demolition (for now)

Once upon a time (about three years ago), we lived in the basement of the house while the first and second floors were being remodeled/rebuilt.  When we bought the house, it had three finished rooms and a full bathroom that were...serviceable.  That is, we could live in the rooms and we could use the bathroom but neither the layout, the insulation, nor the finishes were what we wanted so we knew we would rip it all out and start over.  And over the fall, that's what we did!  It's nearly complete now so we'll have "after" pictures to post soon (assuming I manage to post them) but for now, here are some from the earlier days when we were tearing it all apart.

Hard to believe but this used to be a living area (with a fireplace!)

View from the other side - we used plastic to seal up the stairwell to the first floor
And on the far side of the long room - we put in an egress window where an exterior door used to be so that this can be a safe and legal bedroom when finished

The construction is a little odd in that the there's a brick/block wall between the main basement and this side part - this used to be two rooms, one of which served as our temporary bedroom for a time.  Now that it's all opened up, it will become a long theatre room (once we move all this stuff out!)

It took a full dumpster to demo and clean out the entire basement!  I didn't think we would fill this up but...we definitely did

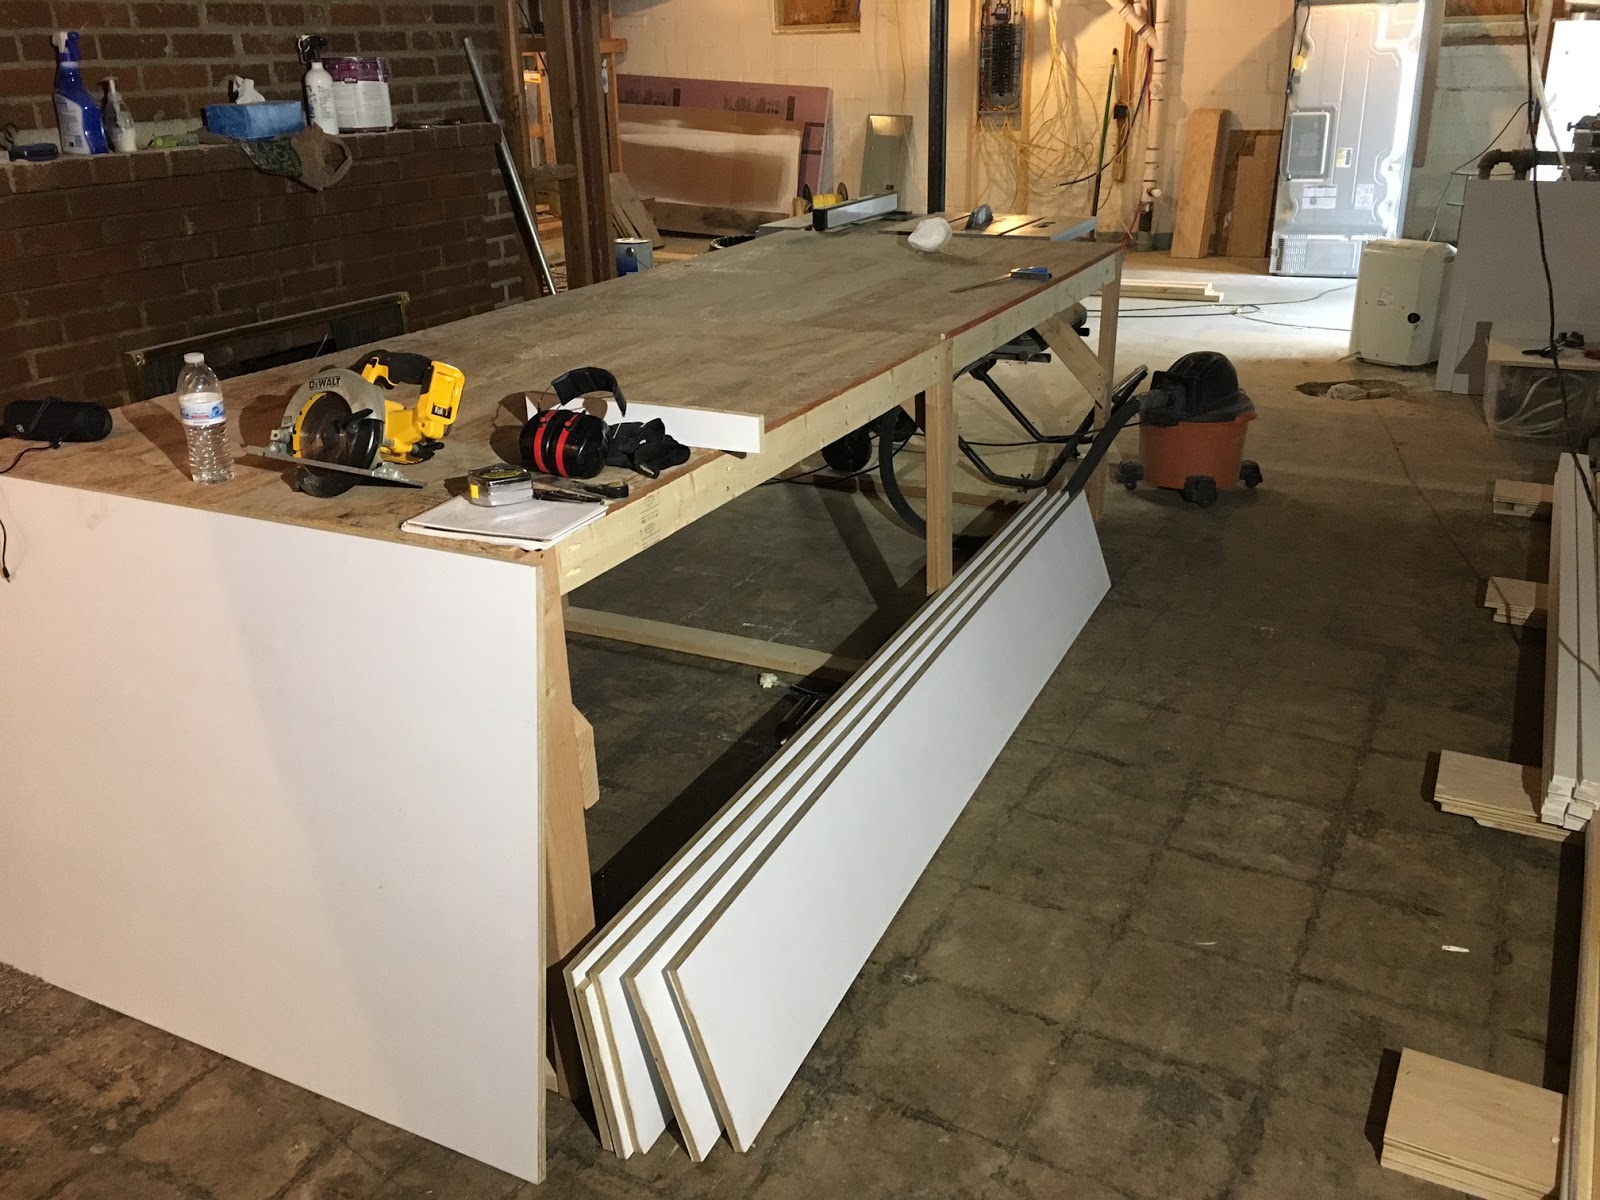
Once we had some (temporary) space, this turned into a cut room for a bit
But then we started framing and doing rough-in plumbing for the new bathroom and bar space
 More - much more - on the basement to come.  We hired out much of the basement work so this turned out to be one of the faster projects and should be done in another week or so - stay tuned!

A place for everything

One of my favorite sayings is "a place for everything and everything in its place."  That's not to imply that I actually put things in their place (Brian is laughing right now as I am by far the messier of the two of us), but it is something that I aspire to.  And after living with our mudroom in our last house, I have a deep and abiding appreciation for being able to walk in and put a coat on a hook, shoes under a bench, and gloves in a basket.  We aren't quite there yet on this house, but we're getting a lot closer!

We used similar dimensions for this bench as the last one but made it slightly wider and a little chunkier all around (if I get motivated, I'll come back and update this post with actual dimensions).  We also have five cubbies instead of four...and I'm embarrassed to report that the two of us managed to fill up all five cubbies almost overnight.  Maybe next time we'll build six!


Just a room at the moment

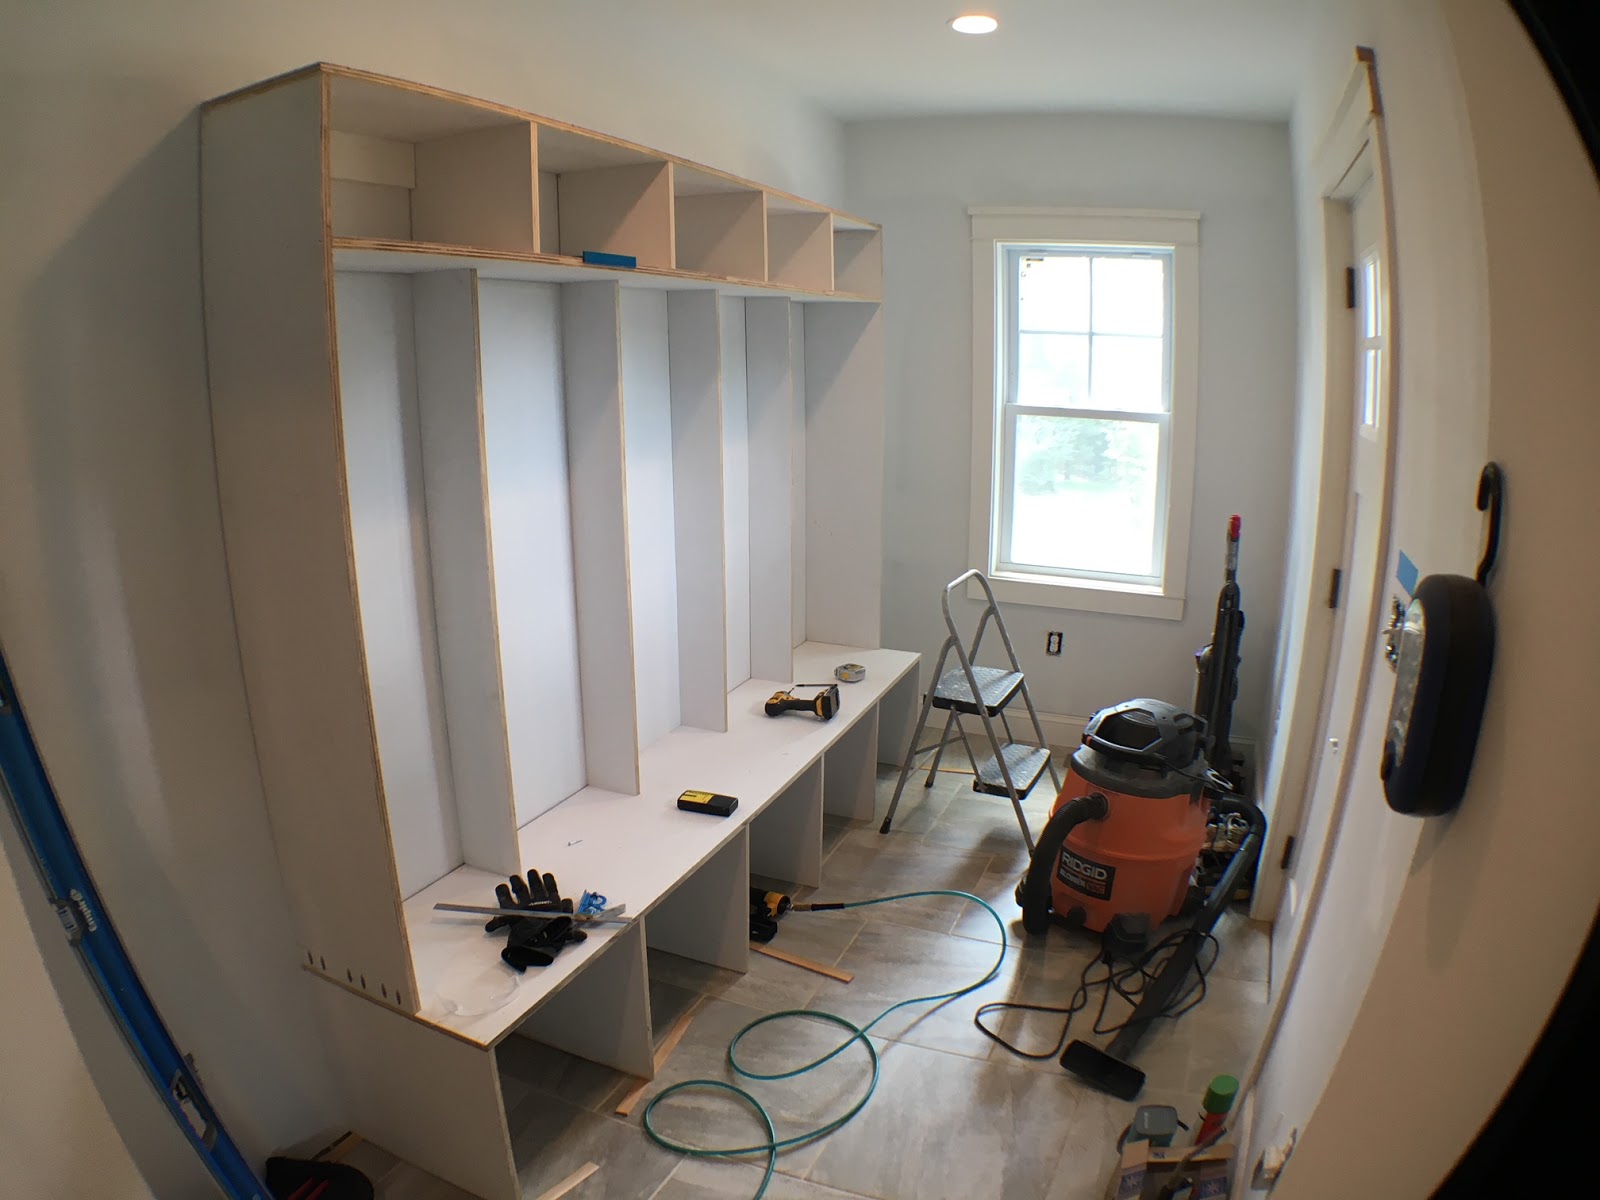
Getting started with the bench

Bench in place, starting the cubbies

And now with top shelves

This is looking more built-in now

Almost done!  Still need crown, plus putty and paint, hooks and baskets, but it's getting there!