House

House

Monday, December 12, 2016

Finishing Touches

We've been working away here on a number of finishing touches.  First up, the master bathroom.  After living with one bathroom/one sink since selling the last house, we're both extremely happy to have double sinks in our lives again!  We used a quartz product for the first time - this is Viatera Cirrus, with a marble-like look.  It's more white than the marble trim in the shower but works well with the tub and white trim in the bathroom.  We'll see how it holds up and decide if we want to use quartz again elsewhere.

Countertop in - the in-house plumber (Brian) is ready to start working on the fixtures
Fixtures (Moen Icon) are in!
And the finished product
Moving back to the kitchen - Brian fired up his welding torch to craft a custom steel base for the walnut bartop extension and finished the bartop itself.  This might be my new favorite part of the house (double sinks notwithstanding) as it's hard to state how gorgeous the wood is.  So, on to the pictures...

Setting up the welding shop in the garage
Getting all the legs on
Frame in place on the island
Back to working on the slab
Now with finish
All put together and in place!

Loving the live edge
Big island with bar top extension in place!

Sunday, November 13, 2016

Pull up a seat

Now that the master bathroom is largely under control (and mostly waiting on others, like the shower glass and countertop installers), we've turned to a pet project - building furniture!  And by "we," I mostly mean Brian as my contribution here consists largely of helping to carry around the materials and cleaning up the sawdust.  But it's all for a good cause as our kitchen is getting some new custom touches!

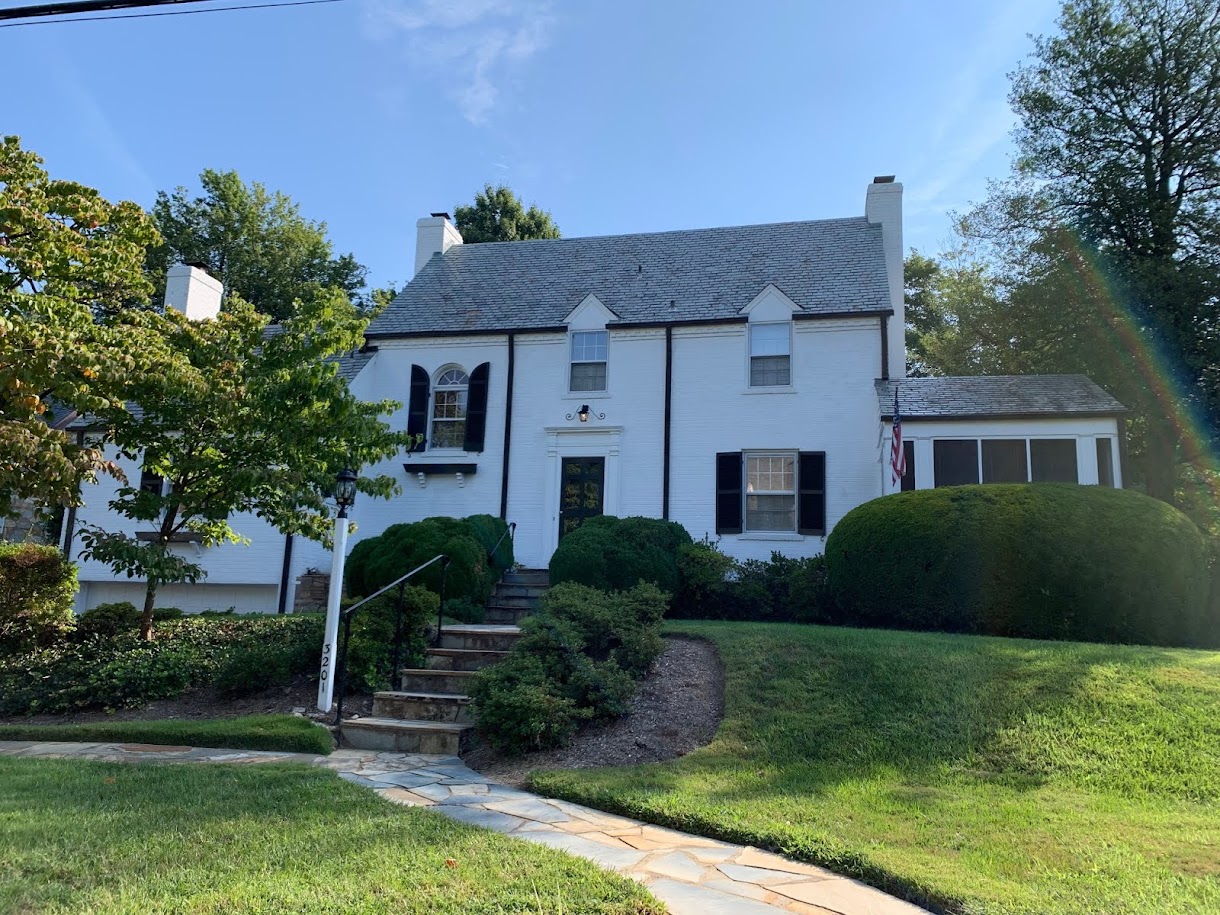
First up - I keep wanting to change the header picture (and maybe will get around to it one of these days!) but in the meantime, here are some updated pictures of the front of the house now that the trees and grasses we planted in the spring are filling in.


And onto the furniture building!  This weekend was all about the prototypes - we're working on a live edge slab bar top for the kitchen island and a custom table for the banquette.  For both, we bought beautiful walnut - a big slab for the bar top and some nice 3x3s for the table.  Since we really only get one shot at installing both, we worked on finishing the slab and then set it up with 2x4s to see how it all worked.  Brian will later weld up a steel frame to replace the wood.  For the table, Brian built a prototype out of regular 4x4s and then will recreate the table later with the walnut now that he has all the measurements calculated.  So, off the pictures...

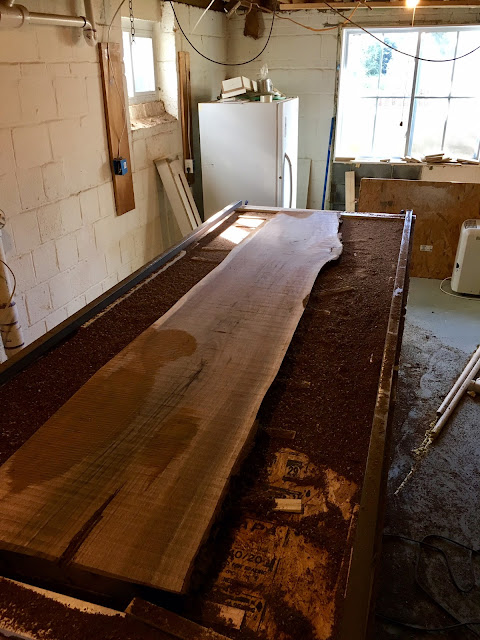
Getting started - first we had to build a big work table in the basement to support the slab, which measured around 110" x 22" in its original form

Getting everything level and starting with the router

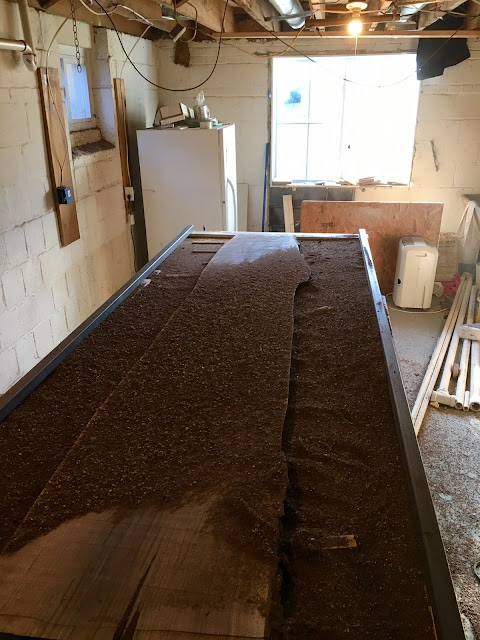
Here comes the sawdust!  Using the router to level the slab

We had to go back and forth with the router on both sides to get it ready

Moving outdoors to cut the flat edge - we debated for awhile whether to keep the big knot or the smoother side but ultimately decided the knot might be a little too rustic looking
Setting up to see how it looks!

And now trimmed to fit the island


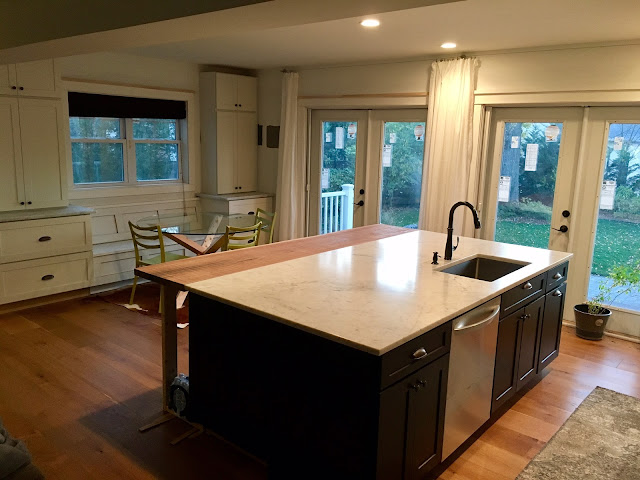
Hello kitchen!  Slab in place (with temporary 2 x 4s, not the steel that will eventually be installed) - and new custom-made table in the background!
Another picture - eventually the table will be replaced with the walnut table legs too

Close up of the table - still need new chairs, banquette seat cushion, paint, and, of course, walnut table legs, but not bad for a test run!

And the bar top from the other side - we still need to finish it with oil and replace the 2x4s with a steel frame but it's starting to come together!


Wednesday, November 9, 2016

Spa Day Ahead

The master bathroom is very nearly finished and, because I couldn't wait, I've already taken a bath and can therefore definitively say that this bathroom is my favorite of all we've built to date.  We still need to have the shower glass and vanity top installed, but it's very close to being complete.  So, on to the pictures!


First, some plumbing to adjust the fixtures
Getting the shower fixtures into place - I'm not sure why the shower tile looks so dark here since, as the picture below shows, the tile is more of a medium gray
This is a better representation of the color scheme and shows the double shower
Getting ready to install the tub - with shades installed and walls painted (in a Behr color called "Fast as the Wind")

Very large soaking tub, ready for install
 
And, with help from our friend Malia, tub installed!
Installing the 7' vanity

Getting everything level

And now ready for countertops!

Sunday, October 30, 2016

Indoor tile, outdoor landscaping

With the fall weather, we've been switching between indoor and outdoor work as the weather and daylight permits, focusing on both the master bathroom tiling and the backyard landscaping.  After a couple weekends of work, the backyard is done for the season.  But first, the still-in-progress tiling:

Floor tile finished and grouted, getting started on the wall tile
Prep work, including protecting the shower floor tile - setting a straight edge for the border and cutting marble tile to get started
Working our way around the walls - we're using a textured gray ceramic tile bordered by a white carrara marble tile
Another angle
Moving along
Tile done, getting ready for grout
Grout in progress
And tiling complete!  Now for fixtures, trim, paint, glass doors, etc. to get this bathroom up and running

Next up, backyard progress - it took a couple of weekends and a visit from Brian's friend Tim but we finished the backyard landscaping for the fall.  Next spring, we'll add the rest of the fencing, a built-in grill, flowers and mulch, and finish off the trim work but for now, the patio and firepit are done, sprinklers and landscape lighting installed, and sod is taking root.  It's a good time to move back indoors again! 

More grading - Brian and the bobcat had their work cut out for them!

Definitely a large yard by Arlington standards

Final picture from the back corner
We rented (and for once, did not buy!) a trench digger to lay the lines for the sprinkler system
Digging the paths

Setting the manifold for the sprinkler system
Installing two zones for watering
Still prepping
Ready to lay the sod!
We forgot to take in-progress pictures but have plenty of nice "after" shots:

Now that's a lawn!  Complete with boulders and grasses installed (though we'll need a better picture of those)
From the back corner
Hello large lawn!
And from the back