We're here! Things have been a bit quiet on the house renovation front lately, due to a very fun vacation for us and then a less-fun surgery for me. Add in a historic snowstorm in the DC area and suffice it to say, some of the bigger house projects have been put on hold for now. But, we have finished up a few things, including the rest of the family room and dining room hardwood flooring, which means we're on pause with hardwood installation for a bit until we clear some more space, and we've been working towards making decisions on some design elements, like adding a built-in banquette to the kitchen and figuring out the tile for the master bath. Choosing - and then finding materials for - these design elements always takes longer than expected but that's the nice thing about living in the house while we do the work. It might be slightly annoying to live in unfinished space (okay, sometimes it's highly annoying) but at least we don't feel pressure to hurry-up-and-just-pick-something-already because contractors need to keep moving or a schedule must be kept. All that said, we are looking forward to making some more progress over the next several weeks. In the meantime, though, we knocked out some tiling in the mudroom and Brian took the bobcat out to play in the snow. Pictures below!
First up: Snowstorm 2016! Since I'm on medical rest and have to stay indoors, I took these pictures from the second floor while Brian braved the blizzard. These are from Saturday, when he cleared the driveway even as the snow was still falling:
 |
| This is our driveway, although it's hard to tell the difference between the driveway and the street |
 |
| Building a snow pile on the front yard |
 |
| Go bobcat go! |
 |
| More snow, more piles |
 |
| This might take awhile... |
And from Sunday, getting started on the real clean-up:
 |
| Already building a pretty big snow pile in the backyard |
 |
| That's one way to lift the snow up! |
 |
| We can see the road...we just need to reach it |
 |
| Finished for now - the backyard snow pile is bigger than the bobcat! |
 |
| And the snow pile out front is huge too! |
Back to interior projects:
 |
| Prepping the mudroom floor for self-leveler |
 |
| Three bags of self-leveler poured should make a nice base |
 |
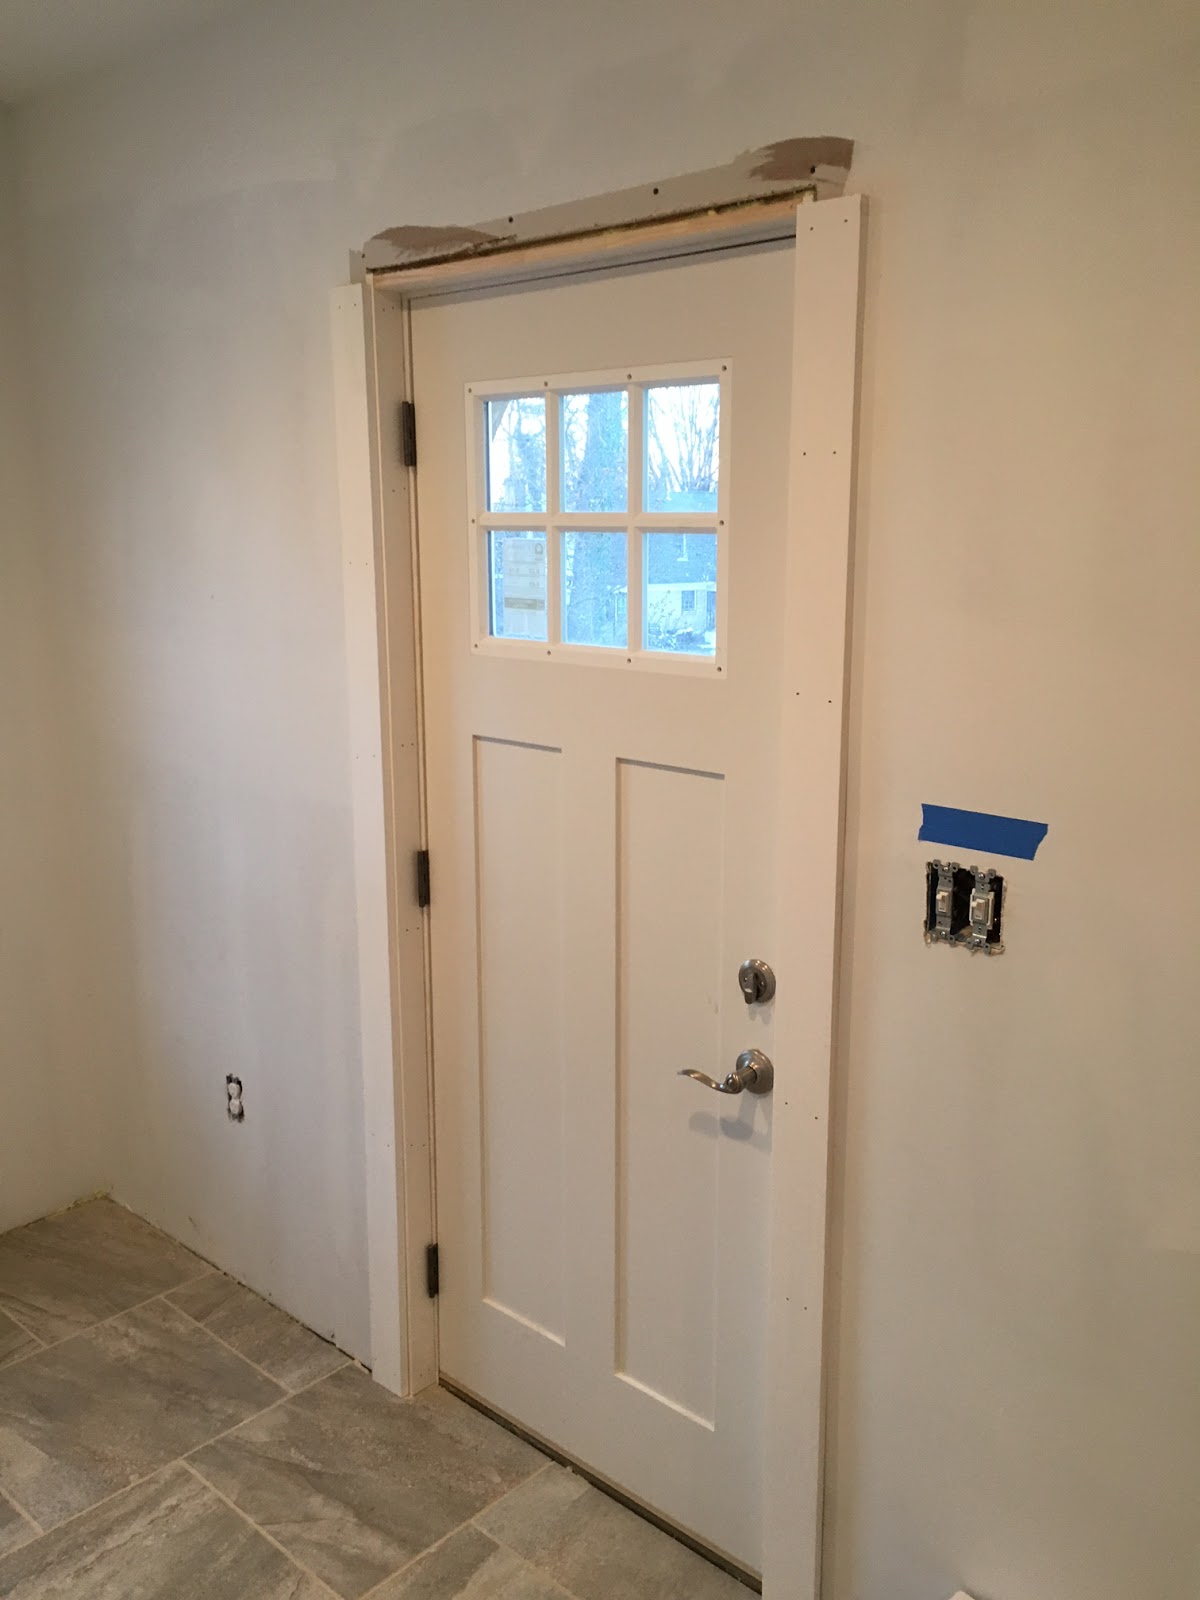
| Forgot to take in progress pictures! But here are the tiles, laid and grouted. Just need one more clean-up to get the rest of the grout haze off |
 |
| Close-up of the transition to the wood flooring. It took us awhile to decide how to do this but we ultimately went with a simple grout line. We'll see how it holds up! |
 |
| Some additional hardwood flooring pictures - getting started in the dining room |
 |
| Moving along - this was a pretty easy room to do once we got started since there really weren't any long runs or complicated cuts |
 |
| We forgot to take "after" photos but the whole room has flooring that looks like this now! |