House

House

Tuesday, March 22, 2016

Cabinet Changes and Fence Installation

Has it really been nearly two months since our last post?  This might be the one downside to tracking our progress - or lack thereof - on a blog.  It's so obvious when we aren't doing much work or, at least, much work that can be photographed!  So let's see - what have we been doing?  We did finish the hardwood floor installation on nearly all of the first floor (but somehow forgot to take pictures) so we finally have a little more room since the flooring is on the floor instead of in boxes everywhere.  We also got our second shipment of kitchen cabinets, which allowed us to install the new refrigerator, finally, and will let us build the banquette.  But before we tackle that, we pulled down the second (of three) sides of chain link fence and are now building a new privacy fence.  We've been wanting to tackle this project since last summer so I'm glad to get it out of the way now.  Brian is home this week so we're moving right along and hopefully will have a new side fence by the weekend.  Now, the pictures:

Prepping for cabinet install - we decided to pad out the side wall by the beam so built a frame

Drywall in

Now that's a wall again!


Setting cabinets in the laundry room

Installed!  Just need countertop and sink now

Redoing the kitchen cabinet install - we swapped out a 27" cabinet for a 24" on the side of the stove to allow room for a larger fridge

New cabinets in, time to see if the fridge fits...

It all fits!  And with fancy plywood countertops (which will be replaced with marble soon)
Setting the cabinets for the kitchen built-ins.  The banquette will go between these two cabinets.

Dry fitting everything - still need countertops, trim, and the banquette
Old fence.  This is not attractive.

Trees growing through the fence!
Chain link down.  New fence posts marked.  The old fence was off the property line and the neighbors asked to share the new fence so we're installing it right on the property line this time, which also means we can remove these old posts at a later date (our side is the one with all the trees).
So much brush to clear to get at the fence line...


Setting a string line
Digging the holes - that auger in the background was incredibly useful but it still took a lot of manpower to fully dig the holes

Now there's some progress!  Getting a nice line of fence posts going.  More to come!

Sunday, January 31, 2016

A Moment to Trim

We've moved onto a seemingly out-of-order project - adding trim to the windows and exterior doors, even though the majority of our rooms are still unfinished.  I don't have a great explanation for why we're tackling this now other than that it's one of those tasks that can be worked on in small increments, we've been mulling over what type of trim to install, and it seemed slightly easier to make decisions on trim than some of the other choices we're in the middle of making (I'm looking at you, master bath tile).  We still need to order - and then install - interior doors so we don't have much to do on that yet but there is no shortage of windows to trim out!  On the last house, we did a simple 1x4 trim with mitered corners on the doors and windows.  We really liked the clean look of that trim but wanted to do something a little more detailed this time around.  So, we're still using the 1x4 trim for the most part but have added a little fillet at the top and bottom and a casing cap up top.  The top and bottom fillet is 1x1/4" and extends 1/4" out from the side casing.  The casing cap is 5/4" x 1 1/2" and extends 1/2" out from the side casing.  We thought about doing something even more elaborate and/or using 1x6 for the top casing but decided instead to stick with the 1x4 all around.  The added elements mean more cutting, nailing, puttying, and eventually caulking but hopefully it'll add a nice detail while still preserving the generally simple, clean lines of the house.


Starting on the mudroom window


And finished with the mudroom window (it did not actually take as long to finish this window as the daylight suggests - we were just a little slow on taking pictures!)

And the pantry window
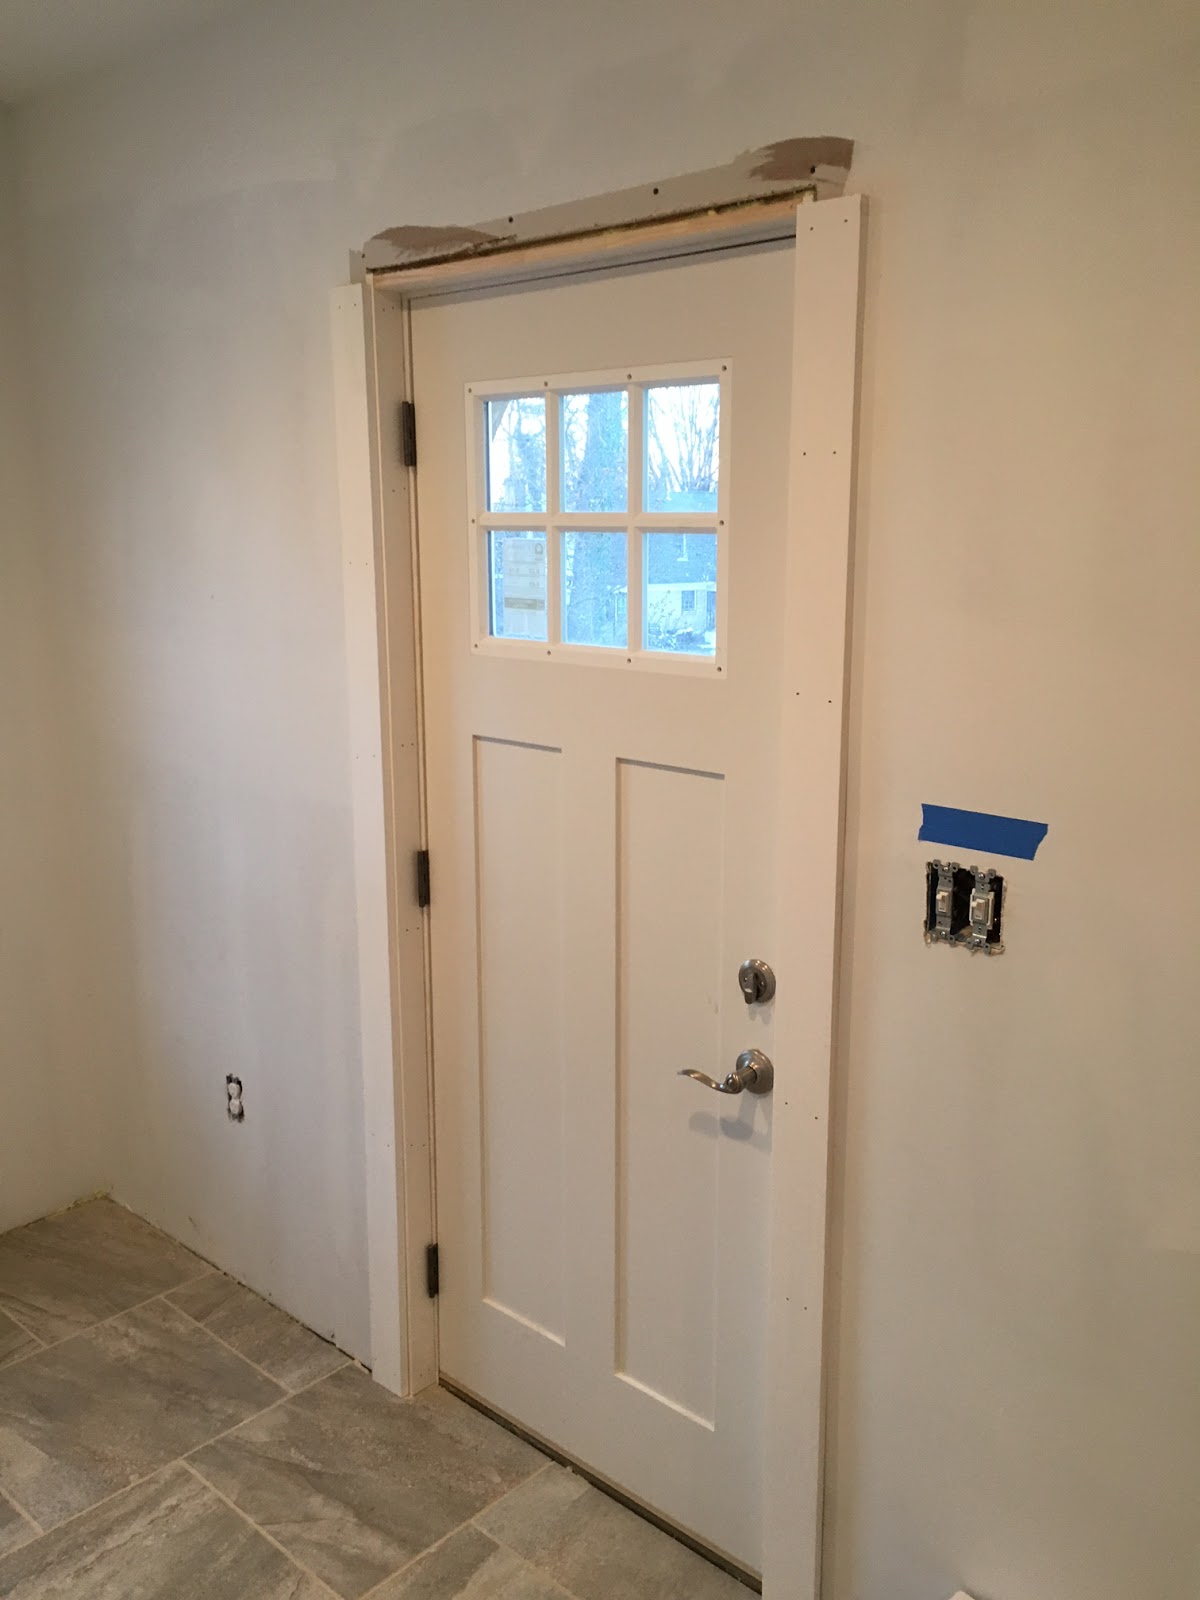
Getting started on the exterior mudroom door (the lockset will eventually match the oil-rubbed bronze hinges - we just have a temporary set on right now)

Moving along

That looks much better!


Monday, January 25, 2016

Long and short term projects

We're here!  Things have been a bit quiet on the house renovation front lately, due to a very fun vacation for us and then a less-fun surgery for me.  Add in a historic snowstorm in the DC area and suffice it to say, some of the bigger house projects have been put on hold for now.  But, we have finished up a few things, including the rest of the family room and dining room hardwood flooring, which means we're on pause with hardwood installation for a bit until we clear some more space, and we've been working towards making decisions on some design elements, like adding a built-in banquette to the kitchen and figuring out the tile for the master bath.  Choosing - and then finding materials for - these design elements always takes longer than expected but that's the nice thing about living in the house while we do the work.  It might be slightly annoying to live in unfinished space (okay, sometimes it's highly annoying) but at least we don't feel pressure to hurry-up-and-just-pick-something-already because contractors need to keep moving or a schedule must be kept.  All that said, we are looking forward to making some more progress over the next several weeks.  In the meantime, though, we knocked out some tiling in the mudroom and Brian took the bobcat out to play in the snow.  Pictures below!

First up: Snowstorm 2016!  Since I'm on medical rest and have to stay indoors, I took these pictures from the second floor while Brian braved the blizzard.  These are from Saturday, when he cleared the driveway even as the snow was still falling:

This is our driveway, although it's hard to tell the difference between the driveway and the street

Building a snow pile on the front yard

Go bobcat go!


More snow, more piles


This might take awhile...
And from Sunday, getting started on the real clean-up:

Already building a pretty big snow pile in the backyard

That's one way to lift the snow up!

We can see the road...we just need to reach it
Finished for now - the backyard snow pile is bigger than the bobcat!
And the snow pile out front is huge too!
Back to interior projects:

Prepping the mudroom floor for self-leveler

Three bags of self-leveler poured should make a nice base


Forgot to take in progress pictures!  But here are the tiles, laid and grouted.  Just need one more clean-up to get the rest of the grout haze off 

Close-up of the transition to the wood flooring.  It took us awhile to decide how to do this but we ultimately went with a simple grout line.  We'll see how it holds up!

Some additional hardwood flooring pictures - getting started in the dining room

Moving along - this was a pretty easy room to do once we got started since there really weren't any long runs or complicated cuts

We forgot to take "after" photos but the whole room has flooring that looks like this now!


Wednesday, December 30, 2015

New Year, New Floors

We're been plugging along on various and sundry projects, including cleaning out the garage and replacing a broken garage door opener in anticipation of winter snow...and then we had the warmest December in years.  But the most visible change lately is the installation of more hardwood flooring as we work our way out of the kitchen and into the family room area.  As we go, we're extending the flooring into the dining room hallway and half-bath so that we can move onto those areas next.  As usual, prepping the floor takes a good bit of time and effort but the nice thing about the wide planked floor is that installation does move pretty quickly once we get started.  Still, installing all of this flooring is another reminder of how big this house really is!


Getting started

That's a lot of space to cover

Making progress, including into the dining room hallway

Moving along now

Finally getting close to the wall


And even closer now - just some finish work to go!


Wednesday, November 25, 2015

Thankful for a Kitchen

We've been working away on getting the kitchen installed and most of it is now done - with the notable exception of the stove hood and fridge, which are backordered - and with a lot of items that have been reused (like our old fridge, which is living in a hallway), old countertops plus plywood, and old sink, and therefore will be swapped out for shiny new items over the next month or so.  But in the meantime, it's all up and running, just in time to make Thanksgiving dinner on the first floor and not in the basement, a fact for which I am very thankful!  I still need to get some photos of the kitchen with our plywood countertops on but right now everything is covered with pie fixings so it'll have to wait.

Before we got the kitchen finished, Brian also tackled the installation of hallway lights over the big open staircase.  He was working on the wiring when I left to meet some girlfriends for dinner and, midway through, I got a text - "I could've died.  But the lights are up."  I didn't appreciate how true this statement was until I got home and saw the makeshift scaffolding he had rigged up.  I would caution readers not to do this at home but, well, obviously he did do this at home.  And, fortunately, survived.  But this was definitely not OSHA-approved.

First up - the kitchen in progress:

Cabinets installed!  We will have an overhang on the open side of the island with bar stools so we didn't put cabinets in the middle (since there would be no good way to reach them other than crawling under the overhang).  To keep the island secure and square, Brian built a frame where the cabinets would have otherwise gone.  One advantage - it's much easier to reach the supply and drains for the sink and dishwasher with the back open like this!  Eventually a skin will go over the frame so it'll look like one solid island.
Just another angle

And from the other side

Even though our real fridge is backordered, our wine fridge turned up so we installed it in the pantry.  As much wine as we drink and keep on hand, I'm not sure even we can fill this up!
From the doorway of the pantry - just need some cabinet pulls, trim, and open shelves on the walls and we're done here!
Step one to building the makeshift scaffolding
Um...I guess this will work?
Okay, that is a looong way down if this system fails
But here's the payoff - new light fixture in place!