House

House

Sunday, August 18, 2013

Basement finishing touches

We're back at work on the house after a very restful week in Costa Rica.  Nice to trade chop/tile/table saws for sand and surf for a bit!  But now we're ready to wrap up some big projects here.  First up, we've finished up the trim work and paint in the basement so it's ready for carpet install next weekend.  I'm happiest with the stairwell - an odd thing to pay attention to, I know - because it took so much time and turned out (in my totally biased opinion) very nicely.  Next time around and a little DIY advice - if you're fully enclosing a partially open staircase, just rip out all the walls and install new drywall. Since we didn't do that and instead kept the old drywall up top, we then had to try to match up the framing and drywall on the bottom.  We got remarkably close but it wasn't quite perfect so we added a band board to hide the difference.  I'm actually quite happy with the way it looks now because the band board breaks up the otherwise long wall so aesthetically, we probably would have wanted to do something similar anyway.  Nevertheless, it would have been nice to have the trim work be optional instead of mandatory.  We also got a little creative with the stairs, ripping the top of the baseboard to trim out the top of the skirtboard.  I think (and hope) that when the carpet goes in, it'll be impossible to tell that these were ever basic, open basement stairs.  I guess we'll find out next week - carpet install is Saturday so we'll have plenty of "after" pictures to share once the basement is finished!

Stairwell, waiting for carpet
And one from above - a better angle to see the band board and skirtboard

More detail on the trim


The first of a few shots of the basement, with trim installed and painted throughout


Wednesday, August 7, 2013

Miles to go

We've been working away at doors and door trim and we are finally getting closer to completion but it's been a somewhat tedious and entirely non-picturesque task.  We've now installed 10 of the 11 interior doors (and the 11th can't be installed until we get some of the uninstalled trim out of the way) and we've trimmed out most of them too.  A little DIY advice - these little door hangers are indispensable when it comes to door installation.  We had used them for most of the second floor doors, then forgot about them, did one first floor door and remembered what a pain it is to hang a door without them.  Well worth the few dollars in time and hassle.

We're also very nearly finished with the floor trim in the basement, which has to be complete before the carpet guys arrive later this month.  One of the more time-consuming projects has been finishing the trim on the staircase.  Since we started with typical, unsightly open basement stairs, we've had to put a good deal of work into transforming them into a proper finished staircase.  One of last weekend's projects was putting the trim in.  We found pre-primed 16' x 8" pine boards that turned out to be just perfect.  Brian then boxed out the open staircase at the bottom and now all we need to do is add a little piece on top of the side trim and we'll be all set.

Finally, we're still moving forward with tile and grout - basement bathroom is grouted on the walls and tiles are on the floor.  There's a lot left to do before we get to any proper "after" pictures but we're making progress.

On to the pictures...

First, a before picture of the stairs

And after...almost ready for carpet

Just one of the many (and one of the smallest) doors we've installed and trimmed recently

More basement doors, installed and trimmed

Very dusty floor tile in the basement bathroom, ready for grout


Thursday, August 1, 2013

Coming soon

This should make a nice mantle above the fireplace. I'm not sure what kind of wood it is, but its old and has lots of character. It should look pretty cool once its finished and put into place. Maybe that will be the weekend project. 


Sunday, July 28, 2013

That was fast

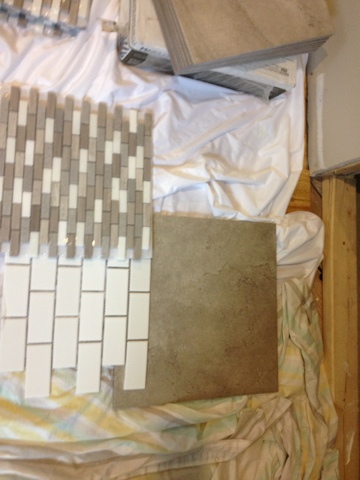
It's no secret that we are committed to the DIY ethos around here but every once in awhile, it's worth it to get some help in and expedite the process - and today was one of those days.  At last count, we've tiled two bathrooms, including the large master bath, the kitchen backsplash, and are working on the fireplace surround...and I think our work is quite good if I may say so myself (I'm also using the word "our" rather liberally).  But we tend to work on tiling in shifts, instead of straight through, and estimated that it would take us at least a couple weekends plus some evenings to knock out the two full baths that remain.  Instead, we had two experienced tilers in today to help and they started and finished both tub surrounds in one day.  For the first floor bathroom, we used a white 2 x 4 subway tile in a brick pattern with an accent strip about 2/3 of the way up the wall.  For the basement bath, we used a 6 x 9 Daltile ceramic in briton bone, also laid in a brick pattern.  While they were at work, we installed several more interior doors and trimmed out the exterior of the front door.  So all in all, it was an extremely productive day!

First floor bathroom in progress

Basement bathroom in progress

First floor bathroom, ready for grout

More first floor bathroom

And yet another of the first floor bath

Basement bath, ready for grout

And one more photo of the basement bath


Saturday, July 27, 2013

Doors, Trim, and Tile... Oh My

It doesn't feel like we got a lot done today, but we are plugging away at the doors and trim and getting ready for tile. Last weekend we picked out the tile for both baths in a marathon shopping session and we may hire out some or all of that tile install. We are supposed to have somebody coming tomorrow to start, but they're from Craigslist and we haven't had the best luck with guys showing up from there. If it doesn't work out, we'll just power through it ourselves... shocker. Hopefully there will be some quick progress this week so stay tuned! Last night the fireplace stoop got done. I dare you to find the seams in that bad boy. It is only 3 tiles, but it took me almost 2 hours to complete. Our doors for the first floor and basement also arrived last night - all 11 of them - and we knocked out install on three today and added some of the trim in the basement as well. Still a lot of work ahead but we're checking things off the list.


Wednesday, July 24, 2013

Detail Work and a Finished Room

So, it appears that we've somehow gotten into a bi-monthly posting pattern here...which I promise I will try to remedy starting this weekend.  But in the meantime, here's the summary report:

First up, we finished the hardwood flooring on the first floor and, since the basement will be carpeted, our floor installation days are officially over for this house.  We've ordered the carpet from our favorite store, Home Depot, and it should be installed in a few weeks - after we finish installing the trim in the basement.

Next, we've been working on a number of smaller projects and we've done a good deal of shopping as we picked out and purchased tile for the fireplace surround and the two full bathrooms that still need to be installed.  We also painted the large expanse of ceiling in the open kitchen/dining room area - a project that took two weekends overall.  First, my friend Dana (thanks, Dana!) came over to help me cut in and put a first coat on.  It is an understatement to say that it did not come out well.  Although the main problem was my technique (I'm not leaving my day job to become a painter, shall we say, ever), the paint and roller weren't helping either.  We've been using Behr paint throughout the house with generally good results but on such a large ceiling that gets so much light - and thus shows every single bit of texture, intended or not - it just wasn't working out.  We were also using 3/8" rollers, which weren't helping either.  The winning combination turned out to be Duron ceiling paint (purchased at Sherwin-Williams, which now owns Duron) with 100% polyester 1/2" rollers.  Final result - a nice smooth ceiling finish and a note to start with Duron ceiling paint the next time around.

Once we finished the ceiling, we went ahead and repainted the dining room walls.  We had already painted them once but the gray color we originally picked was much too light and the walls tended to look sadly dingy rather than deliberately painted.  After that poor start to painting choices, we've since committed to a Sherwin-Williams color, Worldly Gray, for all of the first floor, the basement, and the stairwell/hallway on the second floor and we've been very happy with how it looks so far.  Once everything was painted, we were able to move our furniture back in and call the room finished.

Last topic and then we'll get to the pictures - Brian has been working on the fireplace surround between these other tasks.  We'll be installing slate tiles on the floor and marble tiles on the walls but the first step is, as usual, prep.  We've pulled out the old (soon to be replaced) doors, cleaned it up, and poured a deck mud base for the tiles.  More "after" pictures of the fireplace after it's actually finished...

Dining room, pre-wall painting.  See all the paint patches on the wall?  I was obsessed with paint colors...

Dining room after

More dining room after


Fireplace before - with new television above!

Cleaned up and getting ready
Time to pour the mud

Post mud, ready for tile


Sunday, July 7, 2013

Same Flooring, Different Day(s)

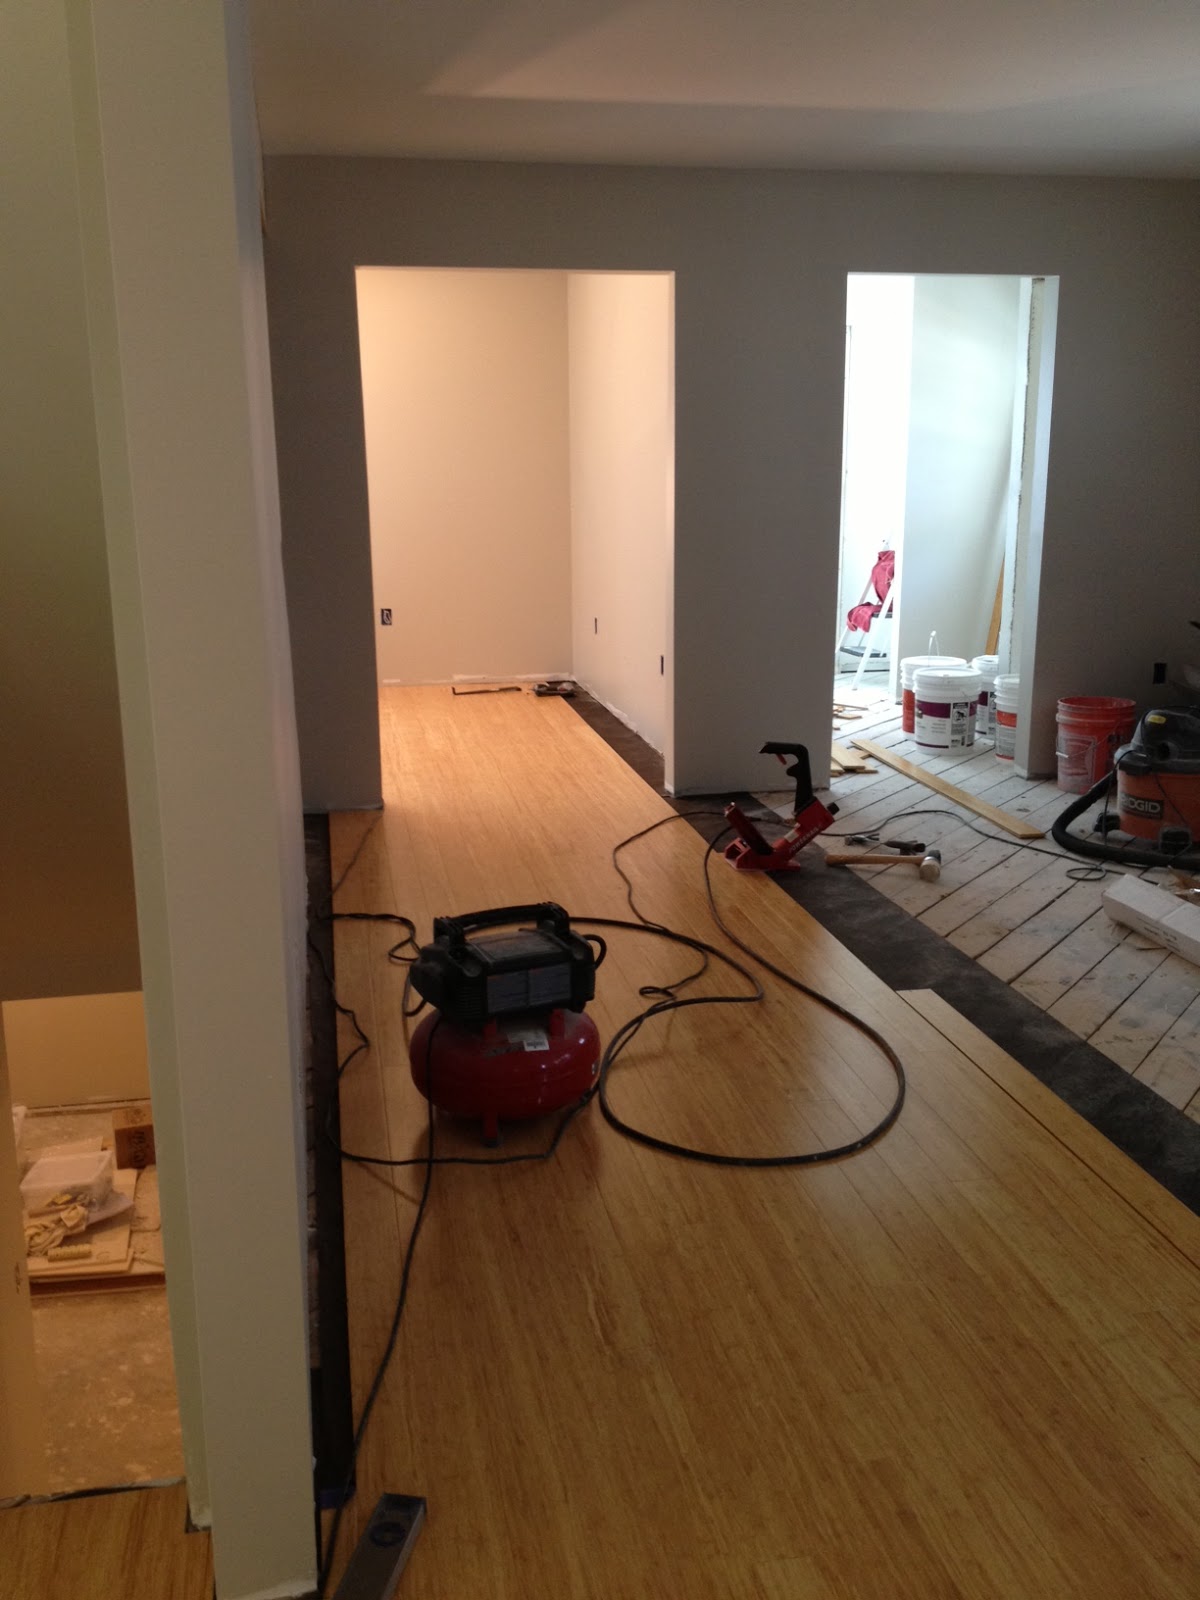
Happy post-4th of July weekend!  We forgot to post last weekend so this is a bit of a catch-up post as well as a report on the long weekend.  Fortunately, for the sake of brevity, we've been doing the same thing day after day after day - flooring.  So. Much. Flooring.  We started last weekend in the kitchen, worked our way through the half bath and into the living room, completed the living room and the mudroom, and now have the den well under way.  We've probably prepped and installed somewhere around nine hundred square feet of hardwood over the past eight days, not to mention that we've taken a fair amount of time off for various and sundry social events.  We are a bit exhausted!  But I continue to love the material we're using - a stranded 4" bamboo in natural - and it's been a surprisingly smooth installation process so far.  It's a good deal more work to install the hardwood over the old subfloor instead of new plywood subfloor, though, and since we're in the "old" part of the house, we've had to take our time.  In order to make sure the floor is level and squeak-free, we've been screwing in each board, knocking in the old nails, and then scraping and, in some cases, planing the boards down to level.  As a result, it takes roughly the same amount of time to prep the floor as it does to install the new hardwood.  The actual install has also required some attention to detail, with the long runs to keep straight and quite a few cuts around the doorways and in the closets.  Still, we're much farther along than I thought we'd be in just a week.  A couple more evenings this week and I think we'll have this job done.  Since we didn't even have walls just a few weeks ago, it's very nice to now have rooms with flooring!

Day 1 - starting in the kitchen

Kitchen and half-bath progress

Past the basement doorway and onto the long run through the living room and into the den

More flooring....

Yes, still more flooring...

Finally!  Living room finished....
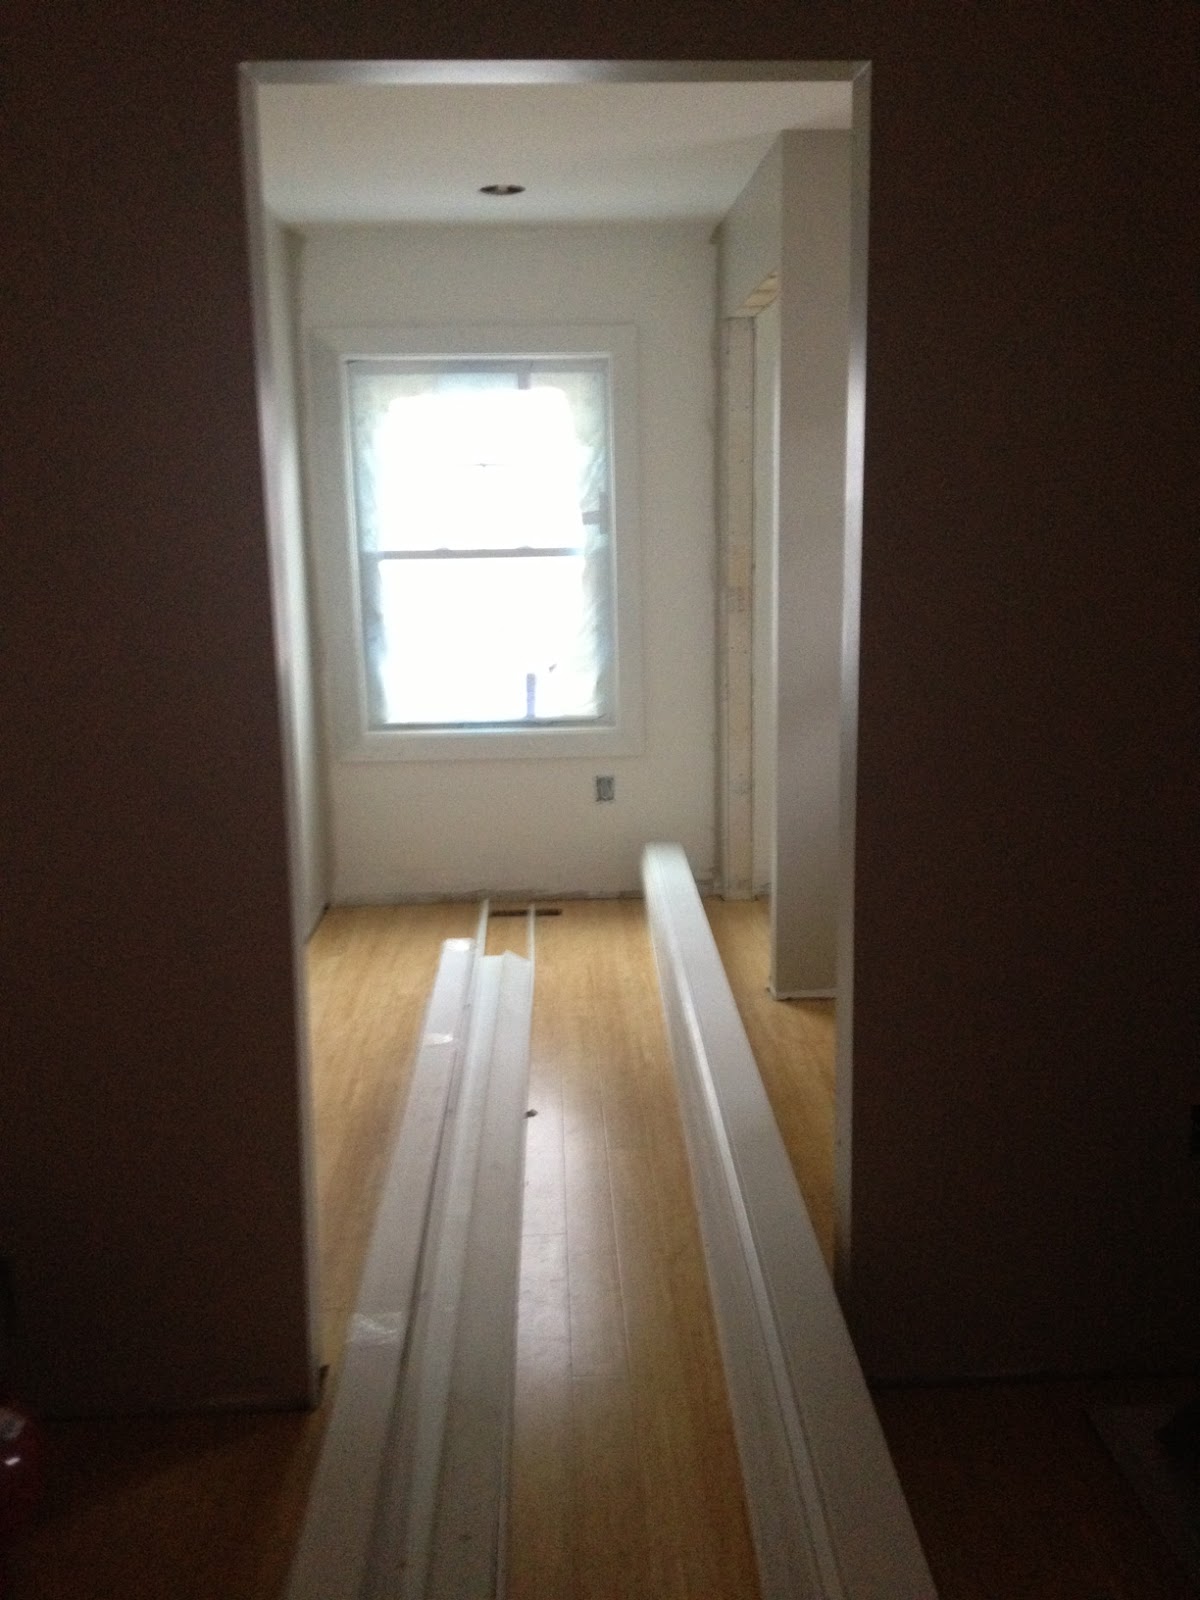
Mudroom also complete (with trim staged for installation)....
Den, in prep phase
Den, so very nearly complete...