House

House

Wednesday, July 24, 2013

Detail Work and a Finished Room

So, it appears that we've somehow gotten into a bi-monthly posting pattern here...which I promise I will try to remedy starting this weekend.  But in the meantime, here's the summary report:

First up, we finished the hardwood flooring on the first floor and, since the basement will be carpeted, our floor installation days are officially over for this house.  We've ordered the carpet from our favorite store, Home Depot, and it should be installed in a few weeks - after we finish installing the trim in the basement.

Next, we've been working on a number of smaller projects and we've done a good deal of shopping as we picked out and purchased tile for the fireplace surround and the two full bathrooms that still need to be installed.  We also painted the large expanse of ceiling in the open kitchen/dining room area - a project that took two weekends overall.  First, my friend Dana (thanks, Dana!) came over to help me cut in and put a first coat on.  It is an understatement to say that it did not come out well.  Although the main problem was my technique (I'm not leaving my day job to become a painter, shall we say, ever), the paint and roller weren't helping either.  We've been using Behr paint throughout the house with generally good results but on such a large ceiling that gets so much light - and thus shows every single bit of texture, intended or not - it just wasn't working out.  We were also using 3/8" rollers, which weren't helping either.  The winning combination turned out to be Duron ceiling paint (purchased at Sherwin-Williams, which now owns Duron) with 100% polyester 1/2" rollers.  Final result - a nice smooth ceiling finish and a note to start with Duron ceiling paint the next time around.

Once we finished the ceiling, we went ahead and repainted the dining room walls.  We had already painted them once but the gray color we originally picked was much too light and the walls tended to look sadly dingy rather than deliberately painted.  After that poor start to painting choices, we've since committed to a Sherwin-Williams color, Worldly Gray, for all of the first floor, the basement, and the stairwell/hallway on the second floor and we've been very happy with how it looks so far.  Once everything was painted, we were able to move our furniture back in and call the room finished.

Last topic and then we'll get to the pictures - Brian has been working on the fireplace surround between these other tasks.  We'll be installing slate tiles on the floor and marble tiles on the walls but the first step is, as usual, prep.  We've pulled out the old (soon to be replaced) doors, cleaned it up, and poured a deck mud base for the tiles.  More "after" pictures of the fireplace after it's actually finished...

Dining room, pre-wall painting.  See all the paint patches on the wall?  I was obsessed with paint colors...

Dining room after

More dining room after


Fireplace before - with new television above!

Cleaned up and getting ready
Time to pour the mud

Post mud, ready for tile


Sunday, July 7, 2013

Same Flooring, Different Day(s)

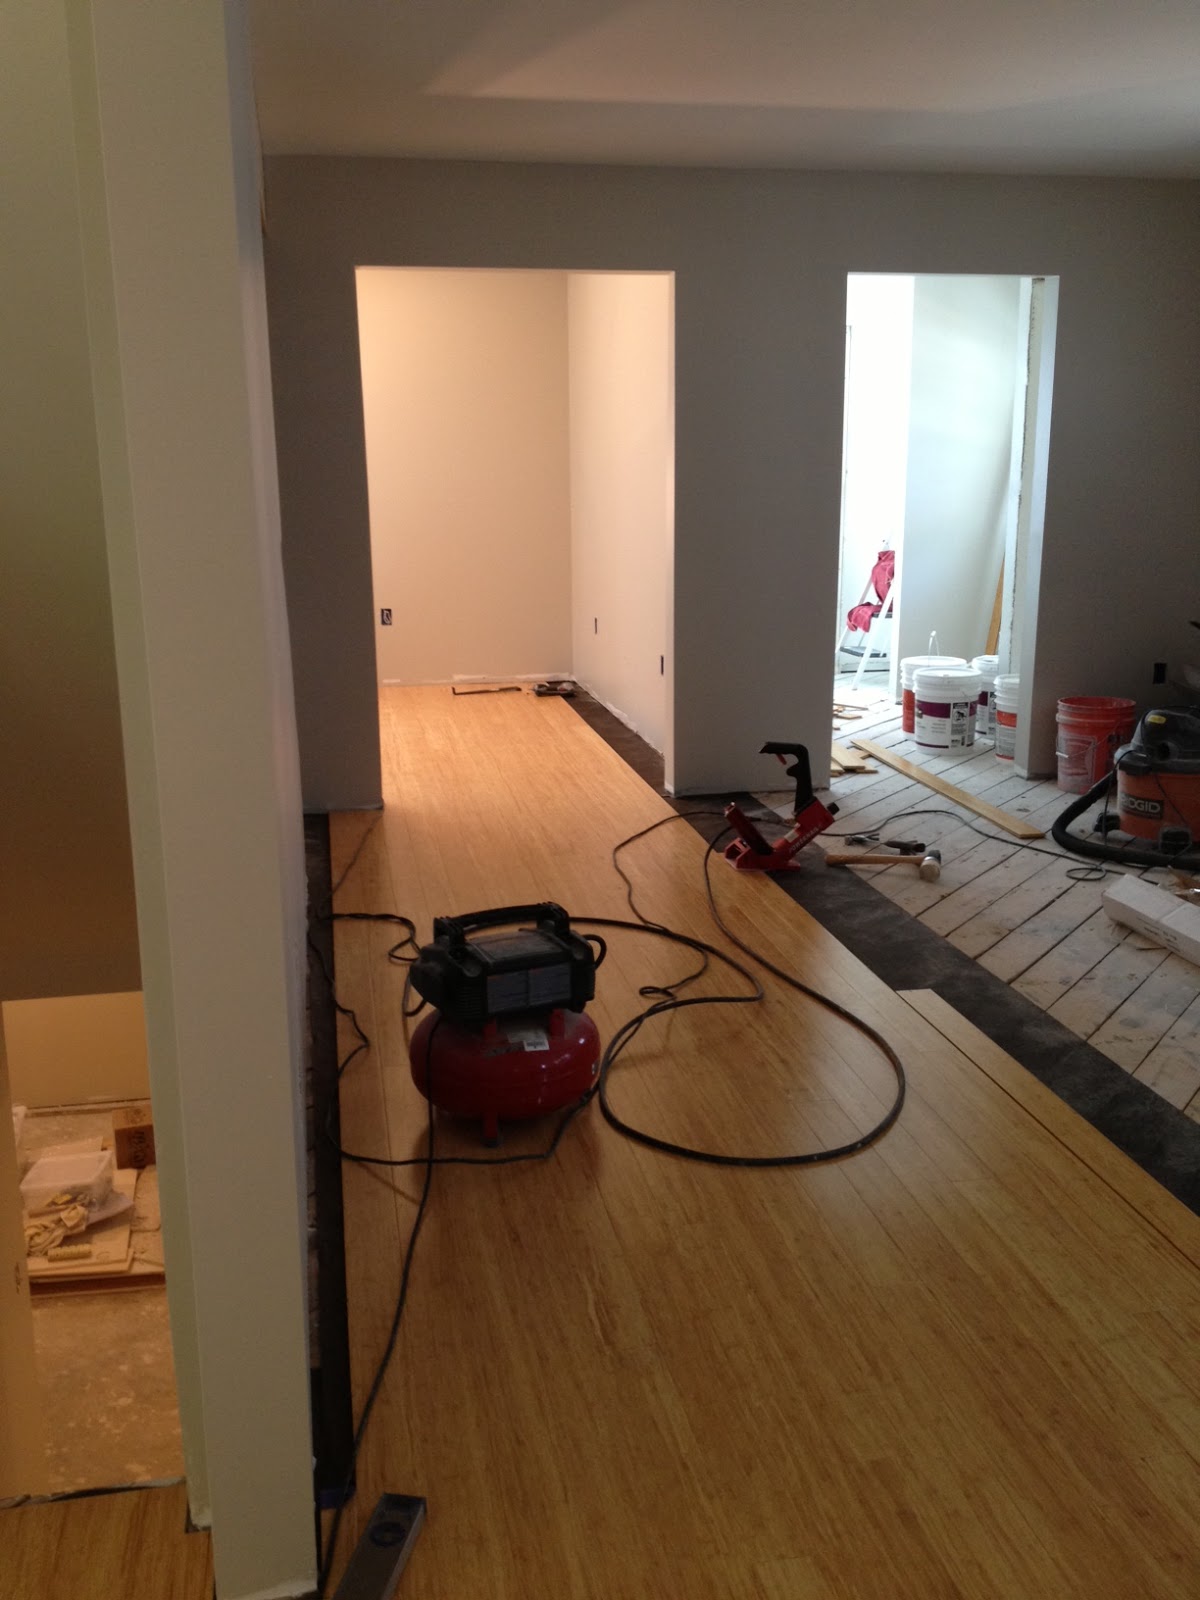
Happy post-4th of July weekend!  We forgot to post last weekend so this is a bit of a catch-up post as well as a report on the long weekend.  Fortunately, for the sake of brevity, we've been doing the same thing day after day after day - flooring.  So. Much. Flooring.  We started last weekend in the kitchen, worked our way through the half bath and into the living room, completed the living room and the mudroom, and now have the den well under way.  We've probably prepped and installed somewhere around nine hundred square feet of hardwood over the past eight days, not to mention that we've taken a fair amount of time off for various and sundry social events.  We are a bit exhausted!  But I continue to love the material we're using - a stranded 4" bamboo in natural - and it's been a surprisingly smooth installation process so far.  It's a good deal more work to install the hardwood over the old subfloor instead of new plywood subfloor, though, and since we're in the "old" part of the house, we've had to take our time.  In order to make sure the floor is level and squeak-free, we've been screwing in each board, knocking in the old nails, and then scraping and, in some cases, planing the boards down to level.  As a result, it takes roughly the same amount of time to prep the floor as it does to install the new hardwood.  The actual install has also required some attention to detail, with the long runs to keep straight and quite a few cuts around the doorways and in the closets.  Still, we're much farther along than I thought we'd be in just a week.  A couple more evenings this week and I think we'll have this job done.  Since we didn't even have walls just a few weeks ago, it's very nice to now have rooms with flooring!

Day 1 - starting in the kitchen

Kitchen and half-bath progress

Past the basement doorway and onto the long run through the living room and into the den

More flooring....

Yes, still more flooring...

Finally!  Living room finished....
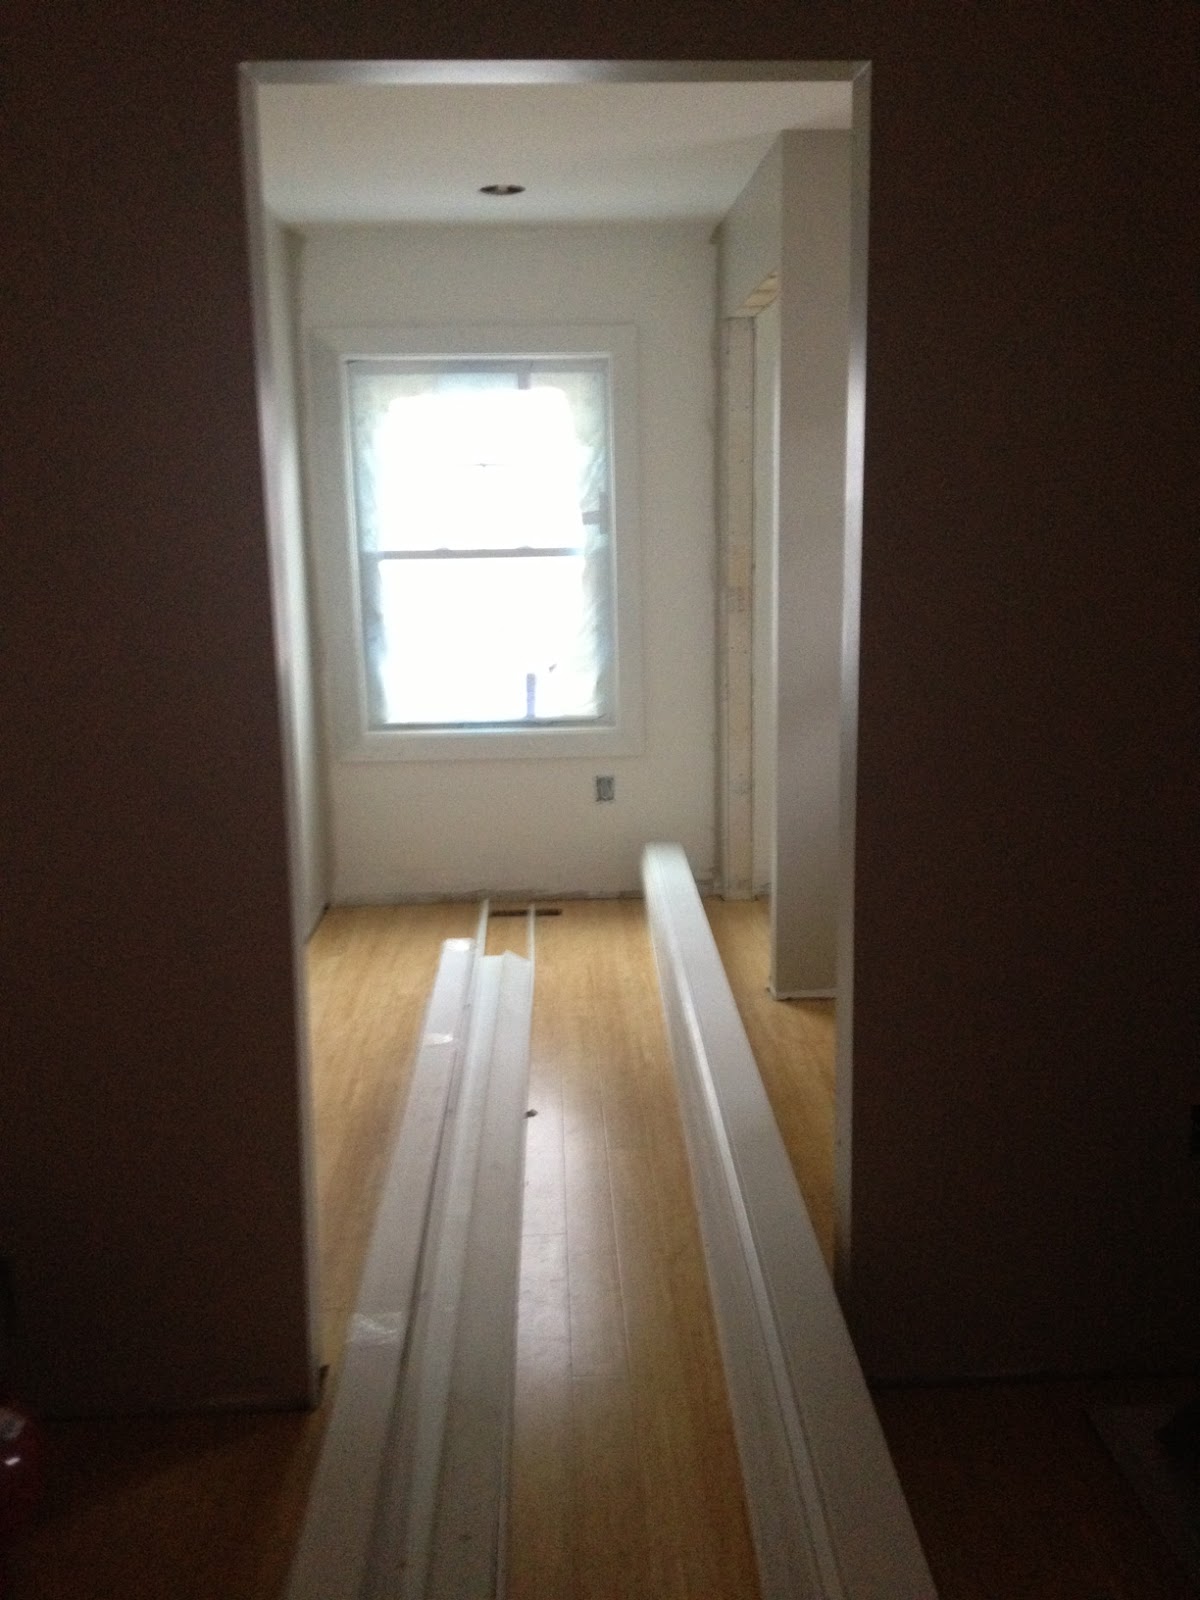
Mudroom also complete (with trim staged for installation)....
Den, in prep phase
Den, so very nearly complete...

Sunday, June 23, 2013

Welcome

Hello, old red door
Goodbye, old red door
Down to the rough opening - and a decent look at our current interior construction zone
New door!  But we still need new trim...

We tackled some smaller jobs this weekend, repairing the old walls and blending them in with the new sheetrock, priming the old walls for new paint, and repairing a handful of window trim pieces that got a bit damaged when the drywall guys were using compound near them.  So, there isn't much by way of pictures except for today's project, replacing the front door.  The old door probably had a negative energy efficiency rating given how drafty and inefficient it was.  We bought the new door several months ago and it's been taking up space in our dining room while we waited for the last of the drywall to come into the house to make sure that the door didn't get damaged in the process.  But, with the drywall installation done, the painter in the house today necessitating an open door for ventilation, and good weather, we decided to check this one off our list.  The new door is fiberglass in a faux wood finish with a nice chunky shelf so it's much more suited to our style.  We also reversed the entry to the right side rather than the left so that you now enter and face into the (soon to be built) mudroom rather than the living room.  We haven't put the interior or exterior trim on the door yet so you can still see the rough opening and the insulating foam but we'll tackle the finishing touches some evening this week (with more pictures to come!).  In the meantime, it's good to have the new door in and another project checked off.

Friday, June 21, 2013

Before and after

I keep looking at these pics and thinking about all the steps involved over the last year to make it happen. It was a lot of work, but totally worth it. We keep staring outside and saying how nice everything turned out. That probably happens several times a day. Currently we don't have a dining area inside so its really nice to be able to sit outside since the weather has been perfect lately. Almost time for some parties!


Sunday, June 16, 2013

Outdoor Revolution


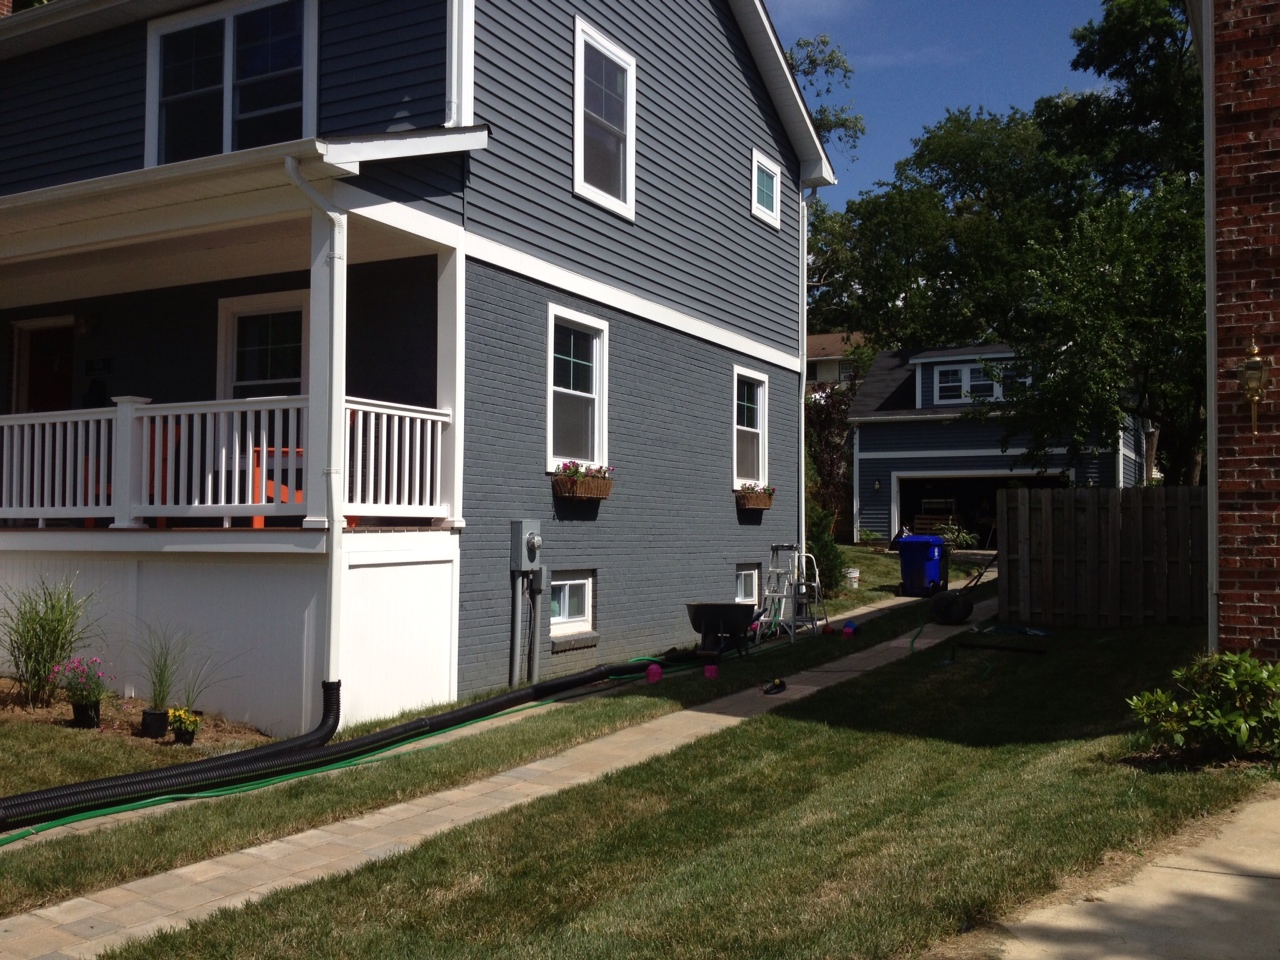
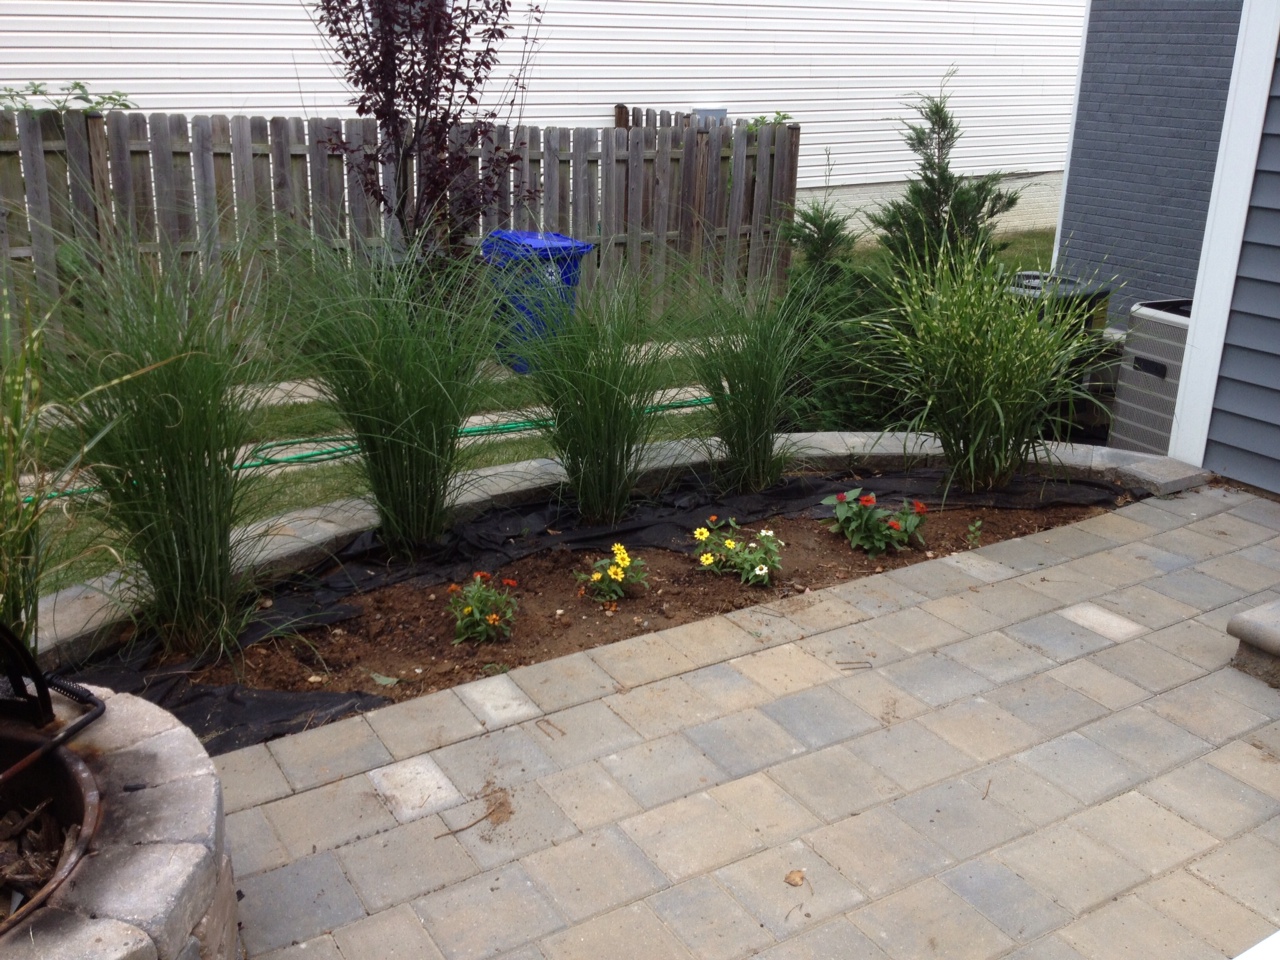
It's hard to wrap my head around the idea that anything in this house might actually be well and truly finished but we're getting very close to that point with the yard now.  Now that the sod is getting well-established, we spent the weekend cutting out planter beds, installing a stone walking path, planting annuals and perennials, planting a herb garden, putting down landscape fabric, and generally getting the yard tidied up.  We still have some work to do - we'll be getting a big delivery of mulch, courtesy of the town's mulch service, in two weeks and so until then, the beds won't be fully finished, and the front of the house still needs some touch-up paint and a new front door, but it's starting to look like a thought out yard - a far cry from the neglected and construction-debris filled eyesore that it was just a month ago!  See for yourself....

Let's start with a little trip down memory lane...not too long ago, the front yard looked like this...
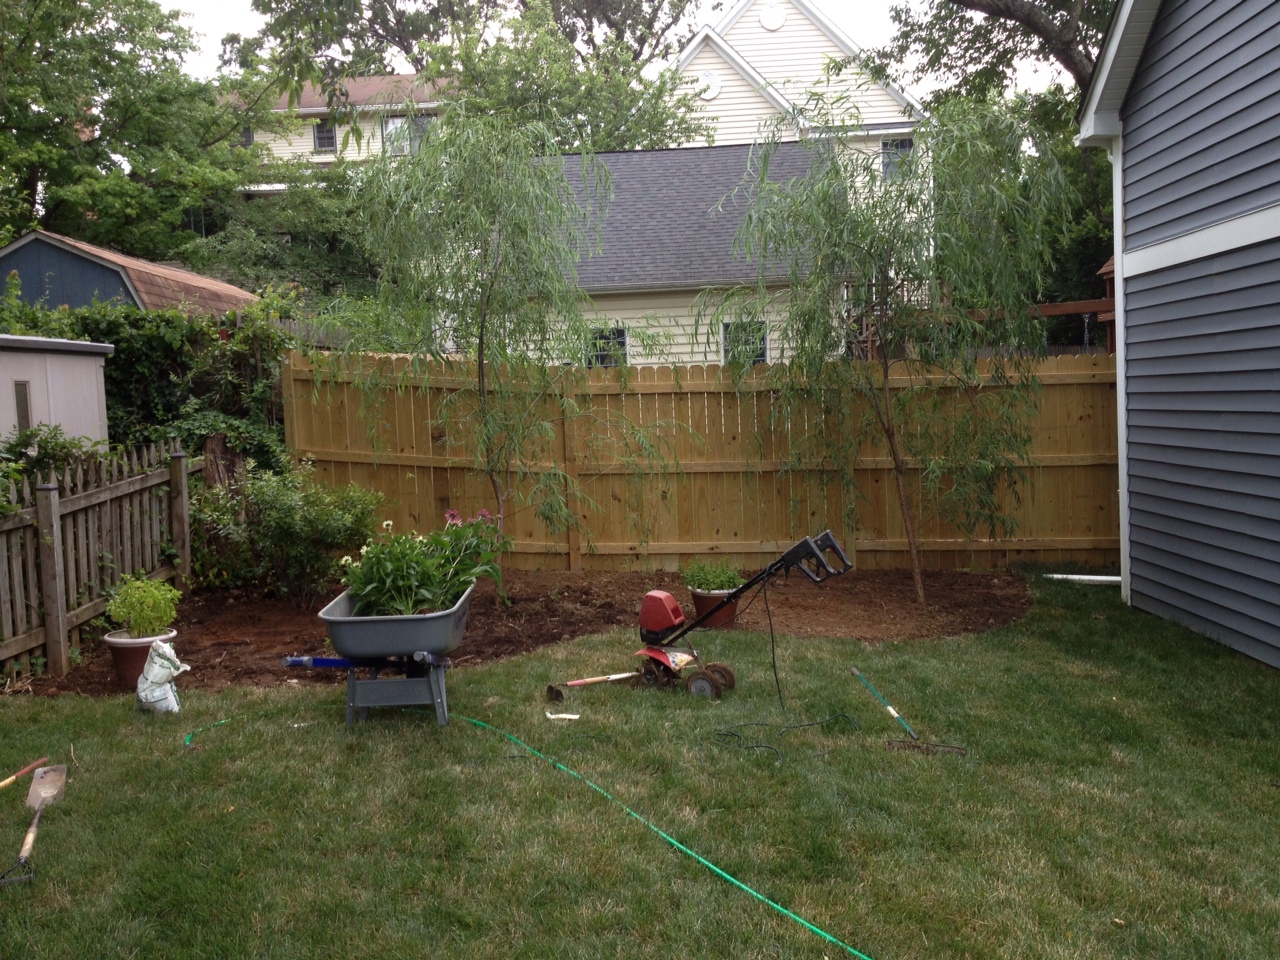
And the backyard looked like this...

Also, like this..yes, it was bad...

And now, here is the back garden, on Saturday morning - better than the picture above
but still looking a little unkempt

Back garden in progress

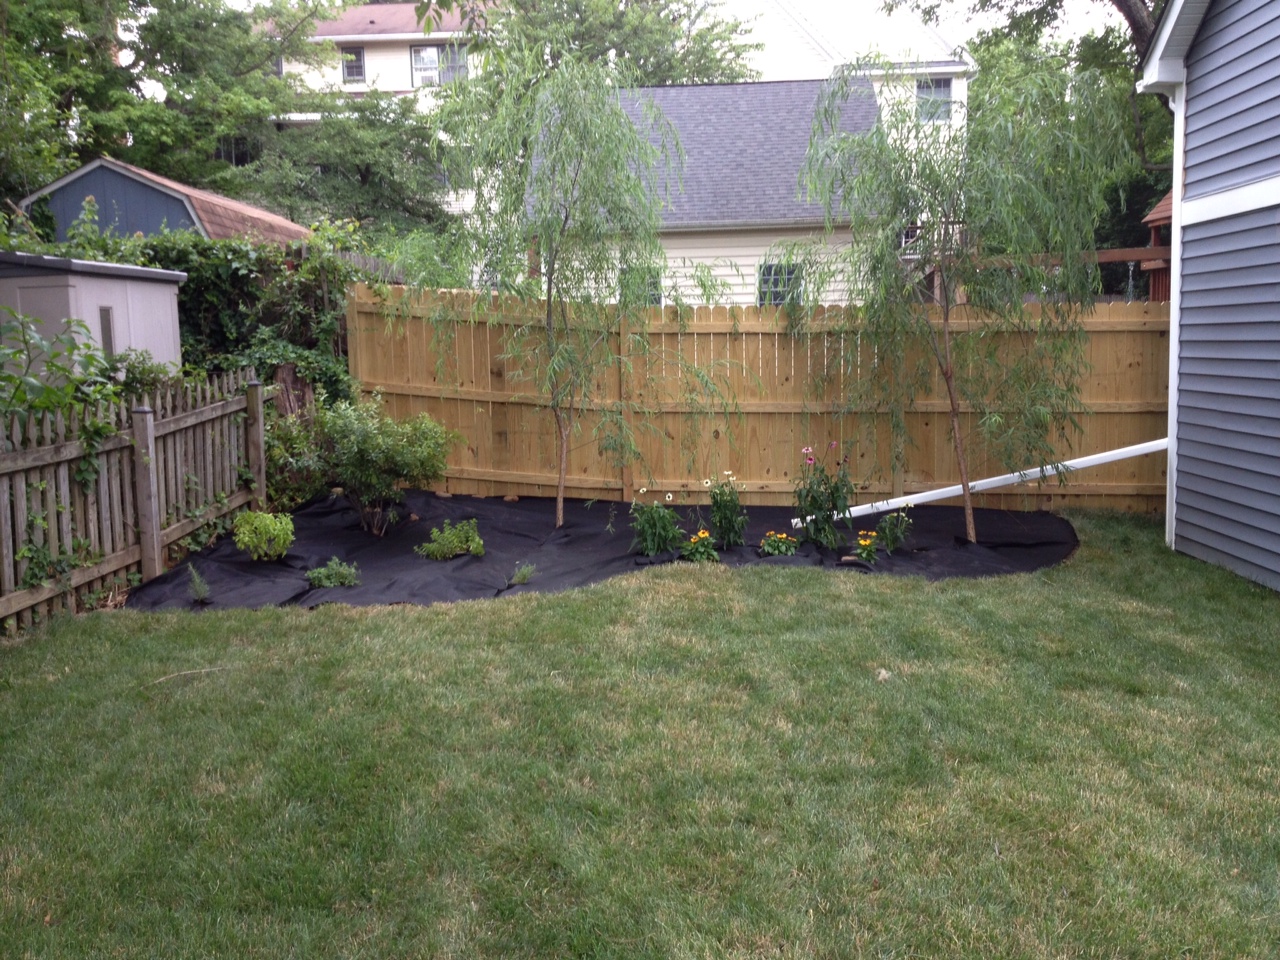
New back garden, with herbs on the left and flowers between the trees
Side garden in progress with rose bush waiting to be planted (apparently we forgot to take an "after" shot so this will have to do!)
Side patio garden with two more knockout rose bushes added - and bamboo screen filling in nicely in front of the fence

New stone walkway to the garage!
New window boxes on the side of house
New flowers to go with the old (and getting big!) grasses

Adding flowers to the front flower beds 
Front porch, complete with new adirondack chairs and hanging flower baskets

It's been quite a change around here!  Since I use this blog as much to record-keep as anything else, here's the rundown on what we planted this weekend - back garden has the two willow trees that we planted about two years ago.  They were one of the first things we ever added to the yard and they've really developed well.  To the left side is a Southern wax myrtle bush that we bought last fall and relocated today, and in front of the myrtle is the herb garden - sweet basil, spicy island rosemary, mint, oregano, and English thyme.  Between the willows are four coneflowers (also planted last year and relocated), with three black-eyed susans in front.  The window boxes and hanging baskets have wave petunias, and the front flower beds have Everlast Orchids (the pink flowers) and Derbys (the yellow ones) in front of maiden and porcupine grasses.  We also added zinnias to the side patio garden and planted some more knockout roses in the side beds...but I think I've hit my picture limit so we'll have to wait for another day to upload those!  All in all, a very satisfying weekend and an amazing change to the outside of the house.  We may not be calling this project finished just yet, but we're definitely happy with the progess!


Monday, June 10, 2013

Garage Reorg

About five times last week I couldn't find some tool or something in the mess that our garage has turned into. It was time for some container store and some organization. The drywallers were working inside so it got me out of their way and now we can find whatever thing we happen to need. All the wood I used was leftover from our inside framing. Most of it was slightly warped or twisted enough to not use it while framing, but it's still useful for shelving since it doesn't have to be perfect.

I also power washed the driveway and front porch for good measure. I'll throw up a pic of our cleaned up front porch and new furniture. Next weekend if the weather is nice we will plant the rest of the landscaping and just about call the outside finished.


Friday, June 7, 2013

Drywall hung

The two man drywall crew got everything hung and are currently taping everything. We have them user contract to prime, sand, and paint so we should be finished in another week with them. Then just some flooring and trim and this house will be livable again.