House

House

Sunday, September 29, 2013

Lawn Lessons Learned

We took the weekend off from construction to host friends but we've been working over the past few weeks on helping the lawn to recover from some early errors.  Back in June, we installed sod in the yard and for the first couple of months, it looked great.  We watered consistently and everything was green and pretty.  Then, we made a rookie mistake of fertilizing right before a heat wave hit and we got a bad case of brown patch disease.  Three fungus treatments later and things were recovering...and then we neglected to water the lawn and drought hit.  All of this made for a tough start for our grass and three weeks ago, it was looking very sad as evidenced below.  But, we refocused and got out the sprinklers to start watering and then overseeded two weeks ago and now it's looking so much better, also evidenced below.  We'll try to keep it healthy through the fall so that we'll be in good shape next spring!  

Three weeks ago...not looking good
And today...much improved!

Sunday, September 22, 2013

Finishing the Beams

It's a strange feeling to have so few transformative projects left these days.  While there's still no shortage of work to do, so much of it is in the realm of finish/detail work that there aren't great day to day changes in the house anymore.  This weekend, though, we tackled one of the remaining big impact projects on the list - staining the beams.  As regular blog visitors will recall, we installed glulam beams to open up the first floor way back in December (because what better way to spend a holiday break than removing walls?).  Now that we have walls and trim up and flooring down, the last thing to do before we could start moving furniture back into the first floor was to stain the beams.  We were sort of dreading the project to be honest - we thought it would be one of those dusty, smelly projects that would disrupt the house for the entire weekend.  But, happily, it turned out not to be such a hassle after all.  It was one of those jobs where having the right tools went a long way.  We used our Dewalt orbital sander, removed the little dust collection bag, and duct taped the hose of the shop vac to it instead.  This  little maneuver worked wonders for keeping the dust down and I highly recommend it for anyone doing a similar sanding project.  It still took a couple of hours to get the beams all cleaned and sanded and then a couple more hours to get the stain applied but all in all, it wasn't bad for a day's work.  For the stain, we mixed two colors - kona and dark walnut to get a really nice dark brown color.  It actually turned out rather darker than we expected but we're happy with the result...a good thing since there's no undoing a dark stain!  I think the color really pops against the walls and also ties in nicely with the dark front door and espresso kitchen cabinets.  We had originally planned to finish the beams with a matte poly but looking at them now, we may just leave them as is.  Either way, it's a good job to check off the list and makes a big difference in the appearance of the house.  Other than that, we've continued to organize, sort, clean, and donate various and sundry household goods.  It only took three plus years but we're finally getting this house organized.  Next up, decorating and furnishing...

Beam, pre-sanding (note the paint on the beam)

Another "pre" picture

Post-sanding, pre-stain

More post-sand, pre-stain

And another post-sand, pre-stain

Stained beam!

Same beam, but looking into the kitchen

More post-stain beams

Close-up of the den beam to show the grain


Sunday, September 15, 2013

Storage Galore

There's absolutely no reason for our long absence from the blog.  We've been here, we've been working, we've just, well, not been posting.  One possible excuse is that we've been doing much of the same stuff (painting, trim, and finish work) and one thing I can say for sure as a result - this house no longer has any shortage of storage space.  When we first moved in, it had typical tiny 1950s closets and very few of them.  A small entry closet fit a dozen coats on a good day, each bedroom had one tiny reach-in closet, and the less said about the galley kitchen and its complete lack of storage space, the better.  Now, however, it could not be more different.  We have a total of eleven closets throughout the house, with half of them oversized and a pantry in the kitchen to supplement the already numerous cabinets.  While I am, in general, completely happy with the storage situation, it's been a bit of a push to get them all finished.  We took advantage of the Container Store's Elfa sale this month to get shelving, which was much quicker than the custom built-ins we did for each of the three bedrooms on the second floor, and installed all the hardware yesterday.  Then, I missed a great photo op today when we unpacked roughly a dozen boxes of kitchen dishes and appliances that have been packed up for, ahem, three years now and spent the day washing, organizing, and storing all of our goods.  We should have gone through an editing process before we packed them up in the first place as there's quite a bit of stuff that will be finding a new home soon but it was really satisfying to unpack our cooking things again and have a place to put them.  It'll be time to start entertaining again soon!  

Kitchen pantry with shelving
Another view

Just one of many new closets

And another

Yep, another closet

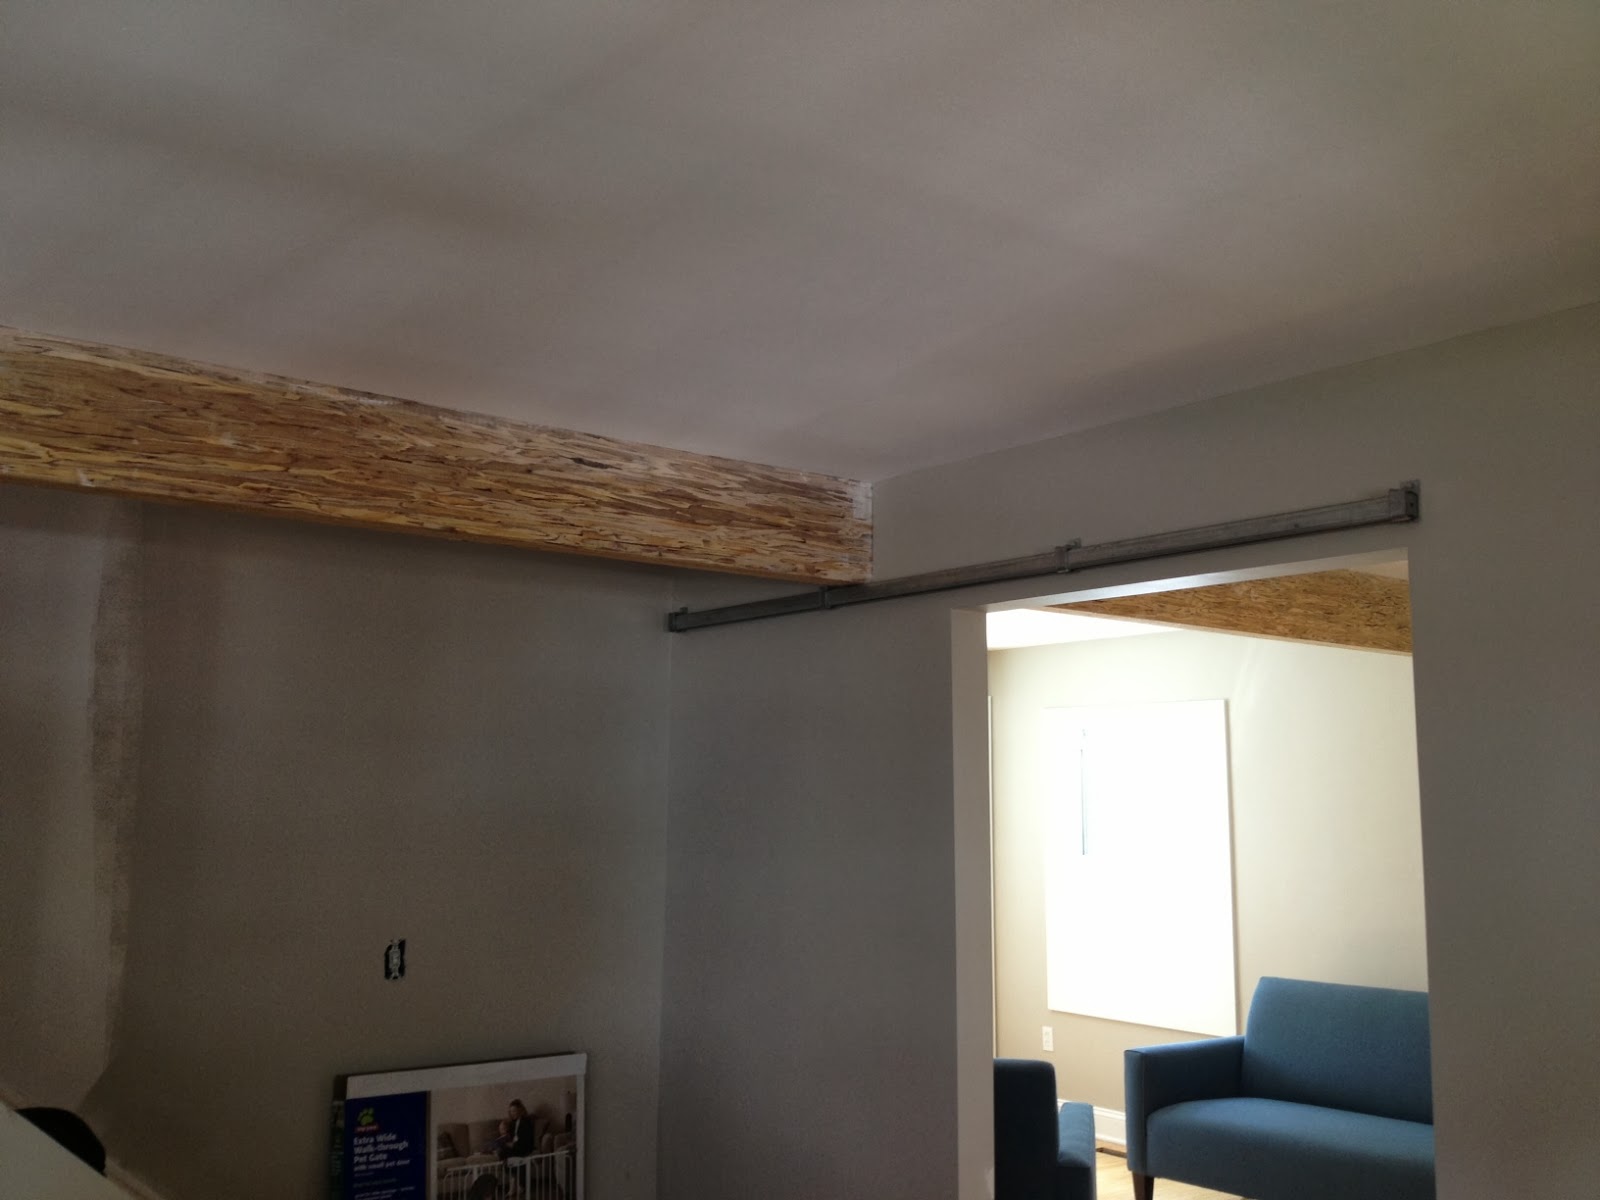
View from the living room into mudroom (on the right) and den (on the left)
with tracks for sliding barn doors installed.  Next task, build the doors!


Sunday, August 25, 2013

Another 600 sq. ft.

We've opened up a new floor for living space!  The basement carpet was installed on Saturday and it looks great.  We shopped around a bit but ultimately went with a Home Depot carpet and are happy with the final product.  We chose a carpet called "Royalty" (so fancy!), in Intriguing II, which has a slight pattern to it, in the color Hazelnut.  It's slightly darker than we expected but works well with the walls (also painted in Sherwin-William's Worldly Gray, as is the first floor).  We'll add some color with furniture and accessories later but for now, it's great to have some additional finished living space.  And, Brian already hooked up our new 60" tv and our new speakers so we're looking forward to movie nights soon.  At some point, we'll build a custom console for the speakers and other electronic items but everything is up and working as of this evening and we've moved our sofa downstairs, thereby also freeing up the first floor for more trim and painting.  This is approximately the sixth time we've relocated our living room area/sofa in the past year or so so I'm hoping it can stay put for a few months at least.  We also made a good deal of progress on the tiling this weekend, grouting the first floor tub surround and installing the bathroom floor, and installing the marble tile on the fireplace surround.  More finished pictures of those spaces soon!

Basement with carpet!

Not sure what's happening with the color in this picture...a professional photographer, I am not.


This picture doesn't do the scale justice but that is one very large television
More progress on the fireplace surround - marble tiles installed, ready for new insert, trim and custom-made mantel 


Sunday, August 18, 2013

Basement finishing touches

We're back at work on the house after a very restful week in Costa Rica.  Nice to trade chop/tile/table saws for sand and surf for a bit!  But now we're ready to wrap up some big projects here.  First up, we've finished up the trim work and paint in the basement so it's ready for carpet install next weekend.  I'm happiest with the stairwell - an odd thing to pay attention to, I know - because it took so much time and turned out (in my totally biased opinion) very nicely.  Next time around and a little DIY advice - if you're fully enclosing a partially open staircase, just rip out all the walls and install new drywall. Since we didn't do that and instead kept the old drywall up top, we then had to try to match up the framing and drywall on the bottom.  We got remarkably close but it wasn't quite perfect so we added a band board to hide the difference.  I'm actually quite happy with the way it looks now because the band board breaks up the otherwise long wall so aesthetically, we probably would have wanted to do something similar anyway.  Nevertheless, it would have been nice to have the trim work be optional instead of mandatory.  We also got a little creative with the stairs, ripping the top of the baseboard to trim out the top of the skirtboard.  I think (and hope) that when the carpet goes in, it'll be impossible to tell that these were ever basic, open basement stairs.  I guess we'll find out next week - carpet install is Saturday so we'll have plenty of "after" pictures to share once the basement is finished!

Stairwell, waiting for carpet
And one from above - a better angle to see the band board and skirtboard

More detail on the trim


The first of a few shots of the basement, with trim installed and painted throughout


Wednesday, August 7, 2013

Miles to go

We've been working away at doors and door trim and we are finally getting closer to completion but it's been a somewhat tedious and entirely non-picturesque task.  We've now installed 10 of the 11 interior doors (and the 11th can't be installed until we get some of the uninstalled trim out of the way) and we've trimmed out most of them too.  A little DIY advice - these little door hangers are indispensable when it comes to door installation.  We had used them for most of the second floor doors, then forgot about them, did one first floor door and remembered what a pain it is to hang a door without them.  Well worth the few dollars in time and hassle.

We're also very nearly finished with the floor trim in the basement, which has to be complete before the carpet guys arrive later this month.  One of the more time-consuming projects has been finishing the trim on the staircase.  Since we started with typical, unsightly open basement stairs, we've had to put a good deal of work into transforming them into a proper finished staircase.  One of last weekend's projects was putting the trim in.  We found pre-primed 16' x 8" pine boards that turned out to be just perfect.  Brian then boxed out the open staircase at the bottom and now all we need to do is add a little piece on top of the side trim and we'll be all set.

Finally, we're still moving forward with tile and grout - basement bathroom is grouted on the walls and tiles are on the floor.  There's a lot left to do before we get to any proper "after" pictures but we're making progress.

On to the pictures...

First, a before picture of the stairs

And after...almost ready for carpet

Just one of the many (and one of the smallest) doors we've installed and trimmed recently

More basement doors, installed and trimmed

Very dusty floor tile in the basement bathroom, ready for grout


Thursday, August 1, 2013

Coming soon

This should make a nice mantle above the fireplace. I'm not sure what kind of wood it is, but its old and has lots of character. It should look pretty cool once its finished and put into place. Maybe that will be the weekend project.