It's a strange feeling to have so few transformative projects left these days. While there's still no shortage of work to do, so much of it is in the realm of finish/detail work that there aren't great day to day changes in the house anymore. This weekend, though, we tackled one of the remaining big impact projects on the list - staining the beams. As regular blog visitors will recall, we installed
glulam beams to open up the first floor way back in December (because what better way to spend a
holiday break than removing walls?). Now that we have walls and trim up and flooring down, the last thing to do before we could start moving furniture back into the first floor was to stain the beams. We were sort of dreading the project to be honest - we thought it would be one of those dusty, smelly projects that would disrupt the house for the entire weekend. But, happily, it turned out not to be such a hassle after all. It was one of those jobs where having the right tools went a long way. We used our Dewalt orbital sander, removed the little dust collection bag, and duct taped the hose of the shop vac to it instead. This little maneuver worked wonders for keeping the dust down and I highly recommend it for anyone doing a similar sanding project. It still took a couple of hours to get the beams all cleaned and sanded and then a couple more hours to get the stain applied but all in all, it wasn't bad for a day's work. For the stain, we mixed two colors - kona and dark walnut to get a really nice dark brown color. It actually turned out rather darker than we expected but we're happy with the result...a good thing since there's no undoing a dark stain! I think the color really pops against the walls and also ties in nicely with the dark front door and espresso kitchen cabinets. We had originally planned to finish the beams with a matte poly but looking at them now, we may just leave them as is. Either way, it's a good job to check off the list and makes a big difference in the appearance of the house. Other than that, we've continued to organize, sort, clean, and donate various and sundry household goods. It only took three plus years but we're finally getting this house organized. Next up, decorating and furnishing...
 |
| Beam, pre-sanding (note the paint on the beam) |
 |
| Another "pre" picture |
 |
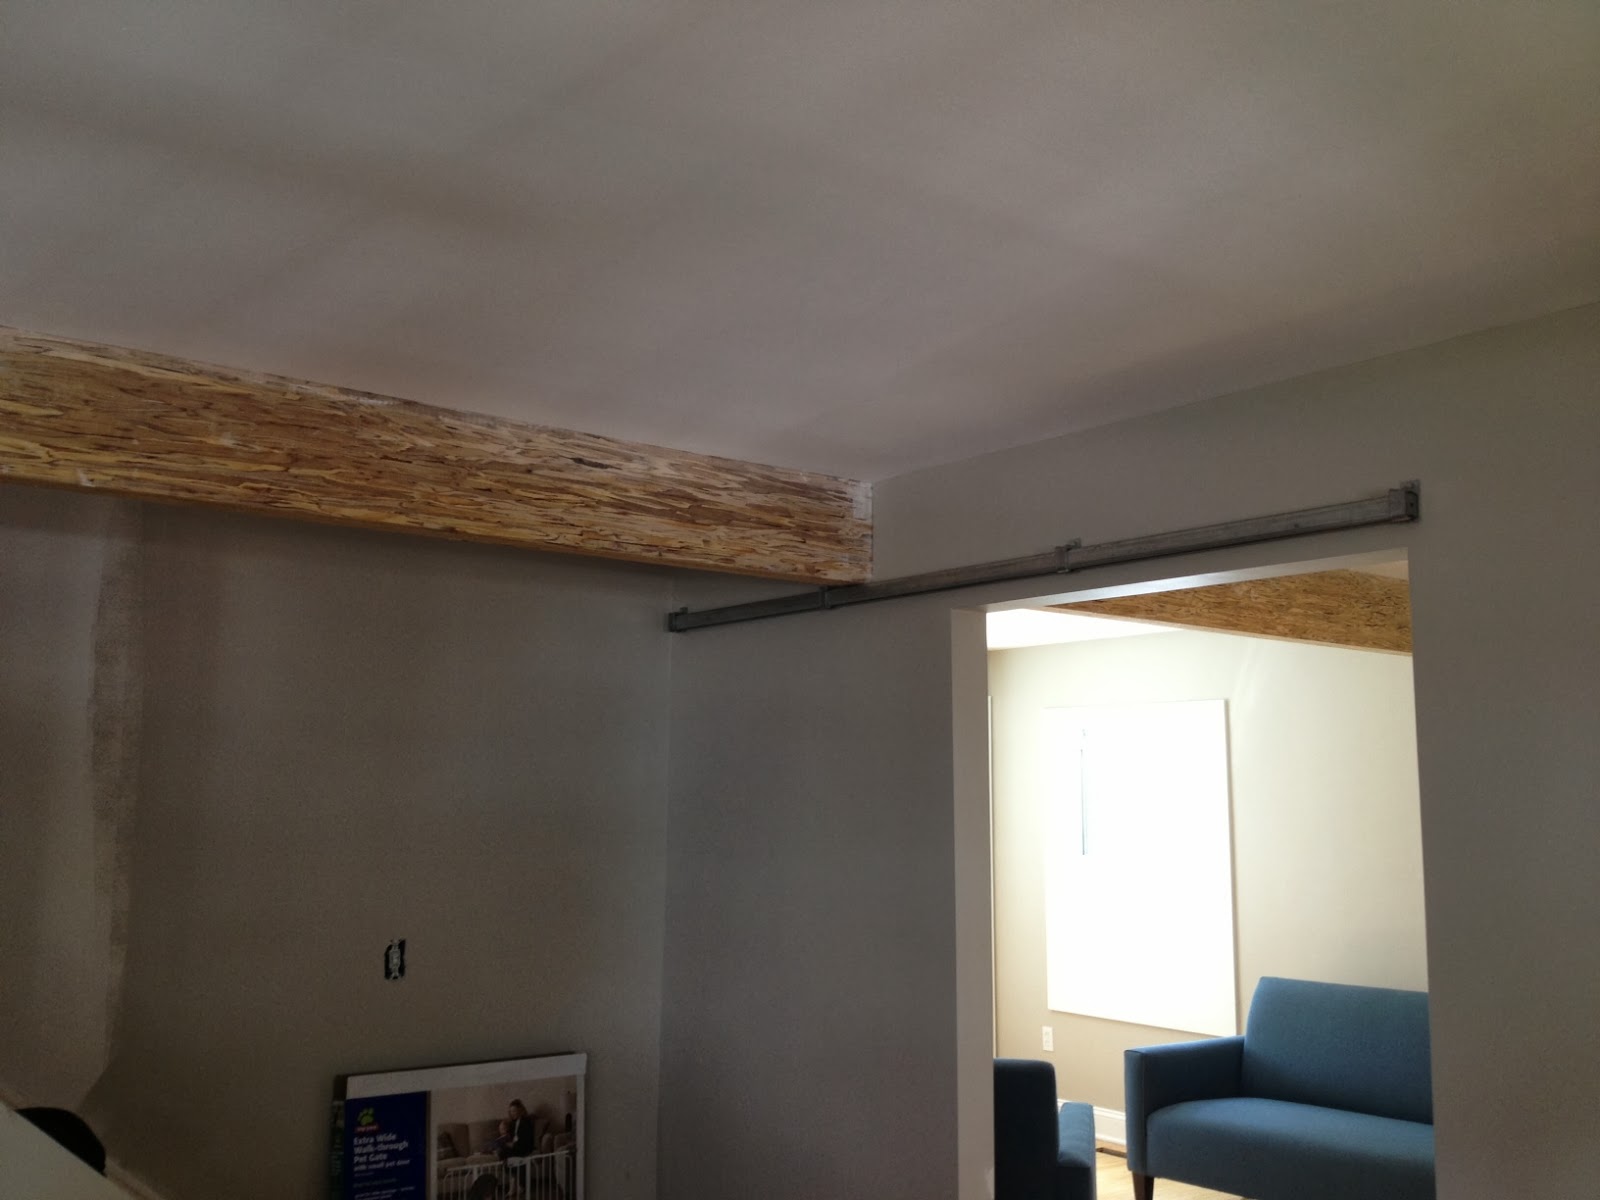
| Post-sanding, pre-stain |
 |
| More post-sand, pre-stain |
 |
| And another post-sand, pre-stain |
 |
| Stained beam! |
 |
| Same beam, but looking into the kitchen |
 |
| More post-stain beams |
 |
| Close-up of the den beam to show the grain |


No comments:
Post a Comment
Note: Only a member of this blog may post a comment.