House

House

Friday, July 10, 2015

Sealing up the house

We're moving along here - we passed our framing, mechanical, electrical, and plumbing inspections last Friday, clearing the way for insulation.  We also tackled a few projects of our own too, including bricking up two windows that are no longer needed on the side of the house.  Since we're going to paint the brick (and the Hardie siding), we didn't worry about matching the new brick too closely to the existing bricks.  It should look fine once everything is painted.  And yesterday and today, we've had the insulation guys in here sealing up the house.  On the last house, we used Roxul and were very happy with the results - our energy bills for the new, larger house were almost exactly the same as the old, smaller, draftier house.  But for this house, we decided to go one step further and apply spray foam on the existing block walls and wet cellulose spray on the newly framed walls.  The only downside is that it's not a DIY project so we hired the pros.  It is, however, a fast installation process, though it needs a few days to dry, and then soon we'll be onto drywall!

Getting started - two windows in need of bricking

One down!

Second window in progress

Halfway there...

So close

And done!  Ready for exterior paint!
 
Getting started with the spray foam

Working their way up the walls

One wall all sealed up

More walls all sealed

Moving through the house

Exterior block walls done - onto the exterior wood framed walls, with cellulose, next!

Monday, June 8, 2015

Weekend Blitz

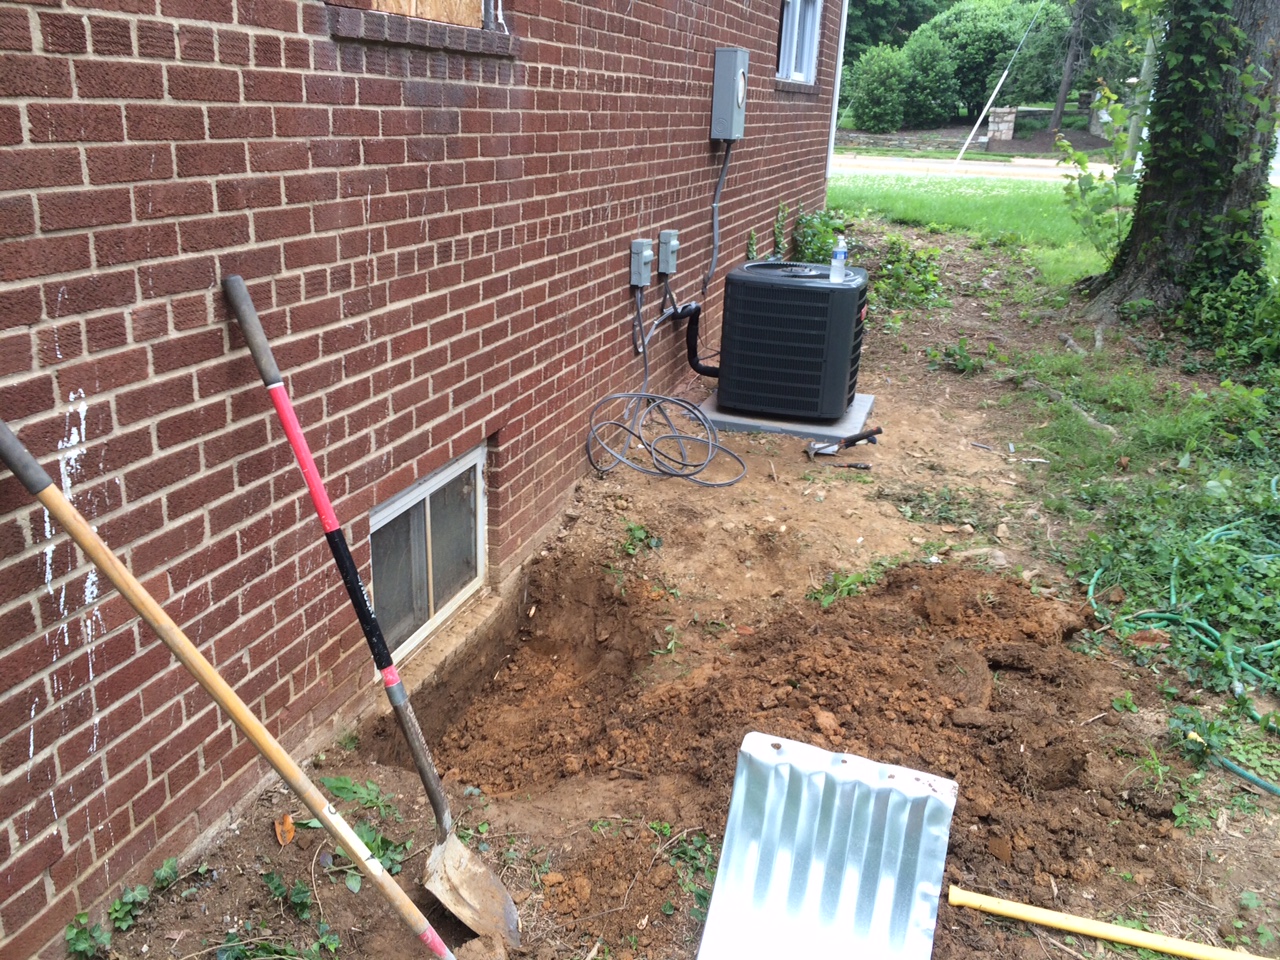
We've had a bit of a pause around here while we sort out a subcontractor issue (which, of course, just reaffirms our general desire to DIY all of the things) but we got back on track this weekend with a long day of work on Saturday.  Our new sub and his guys put in a 12+ hour day to run all of our ducts on the second floor and install a new a/c unit for our basement (which will eventually serve the first floor too).  Since a heat wave is about to hit mid-week, we are extremely grateful that they got all the work done now!  We are also very nearly finished with running the PEX plumbing to the first and second floors and we tested the lines we have in - with just one small spill caused by an open tub valve.  But that was easily remedied and all the other lines appear to be holding pressure just fine.  And we've been continuing to work on little odds and ends, like installing a window well for one of the basement windows.  It still feels like a long haul to get to drywall but we're making progress!

Digging out the window well

Much better!

Just a little more grading to go

Someday (soon), these ducts will be keeping our house warm or cool

More ductwork

Big house = even more ductwork


Many connections to get to the mini-manifolds - all shutoffs are installed and working!
Slowly, the main manifold is filling up with lines

Saturday, May 30, 2015

Inside again

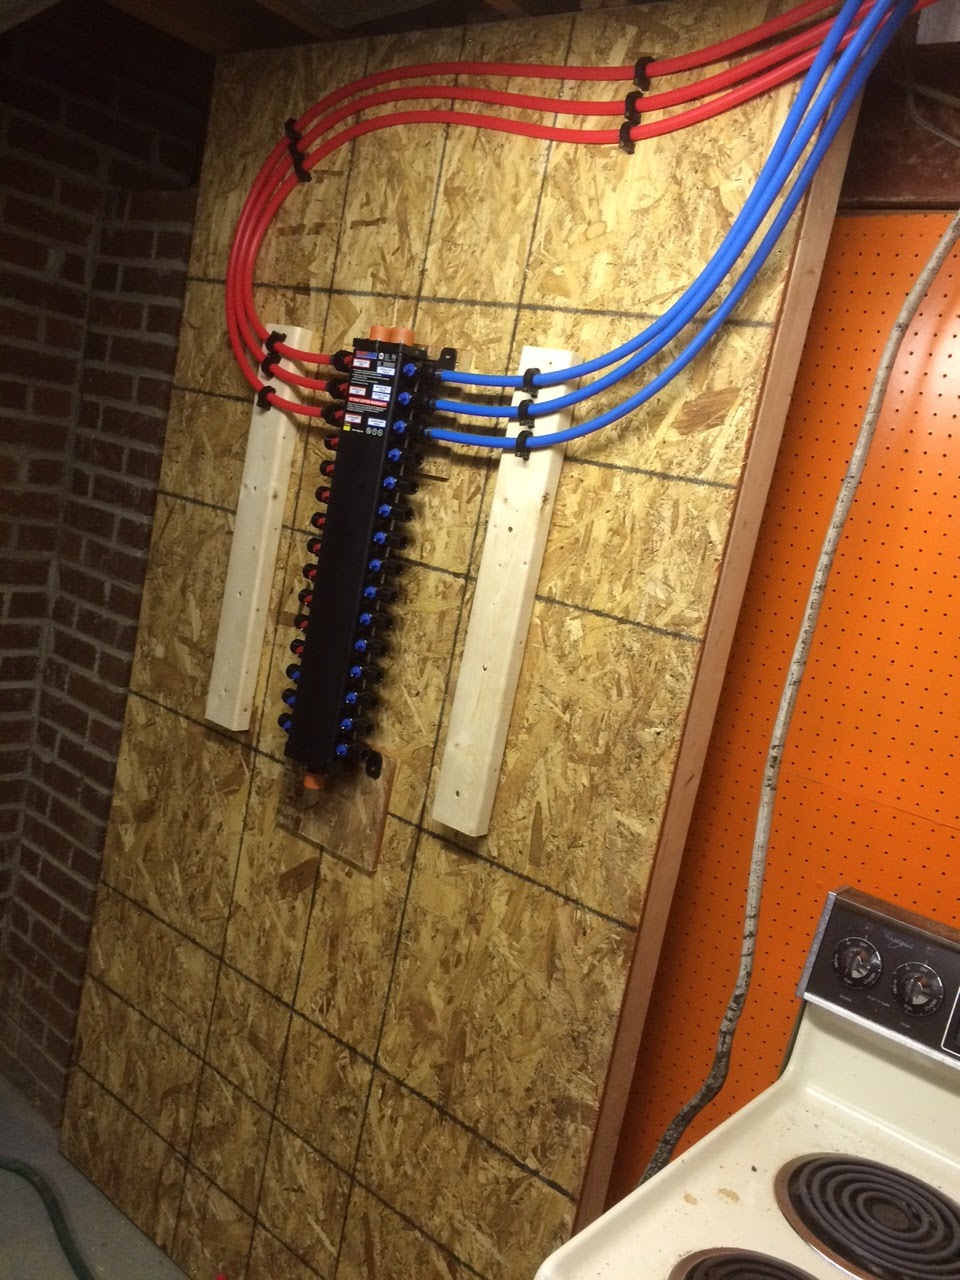
While we still need to paint the new siding and the old brick, we've moved back indoors for a bit and taken over some of the work ourselves again.  We're installing PEX plumbing again, having had a good experience in our last house, although we've opted for a slightly different layout this time.  Instead of using a second manifold on the second floor (along with the main manifold in the basement), we're installing one manifold in the basement with some mini-manifolds on the first floor to supply the master bathroom.  Everything else will run from the basement.  This layout means that we have some longer runs from the basement to the second floor but, because of how the house is configured, we'll have shorter, more efficient runs overall (with three bathrooms and a laundry room on the second floor, there are basically pipes everywhere).  So we (by which to say, Brian, since my role in plumbing largely consists of handing him tools) have been busy with that install.  We've also been tackling some smaller but essential projects, like setting the shower pan for the large master bath shower.  This two-person master bath shower is roughly the same size as our last one and will similarly have both regular and rain shower head fixtures but we went with a quicker and easier (we hope!) install option this time.  Last time, Brian poured a mud base over a rubber liner in order to create the slope and then we tiled on top of that.  This time, we opted to purchase a custom-made shower pan from KBRS that is pre-sloped, pre-formed, and perfectly square.  It cost a little bit more but probably saved us at least a few days worth of hard work.  So we've now set that pan and are one (small) step closer to having a nice bathroom again.  We're also starting to pick out finishes, which is probably my favorite part of any renovation.  We're likely to go with a similar color scheme as the last house, but possibly with darker wood floors this time.  In the meantime, the work continues!

Getting the main manifold set up

Starting to run some initial lines

Copper mini-manifolds in place

Initial view of the shower space (the black plastic over the windows and on the walls is to protect the PEX piping from direct UV rays)

Here's the floor area, already prepped with self-leveler

Mortar to hold the pan in place

And the pan is in, weighted down with whatever we had handy to help it set
Starting to put together finishes - we're leaning towards the darker flooring (though the light oak keeps appealing to me as well), with white kitchen cabinets for the walls, espresso cabinets for the island, carrara marble countertops, and our all-time favorite paint color, Worldly Gray by Sherwin-Williams, on the walls


Monday, May 4, 2015

Inside and Out


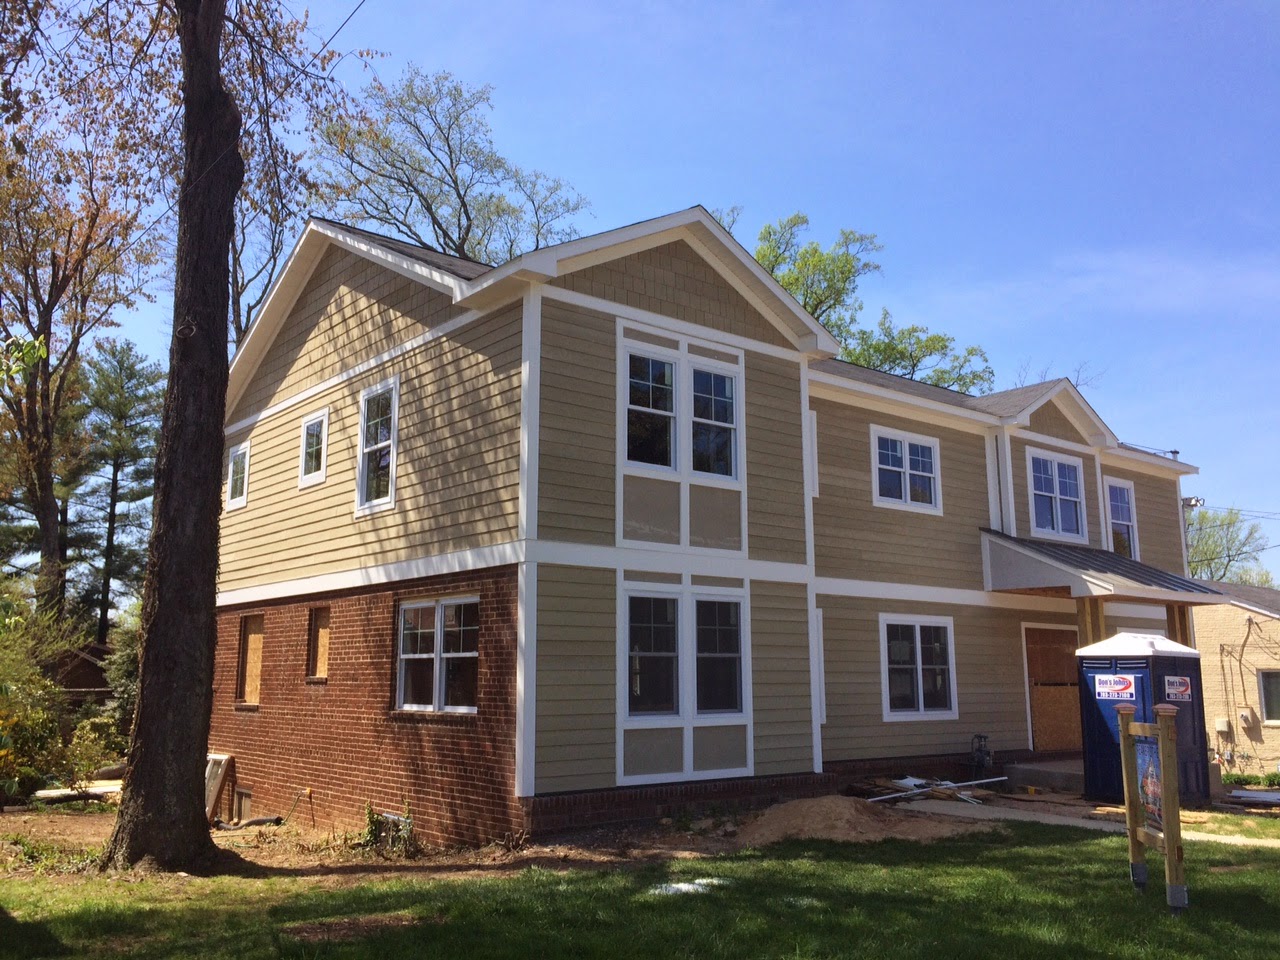
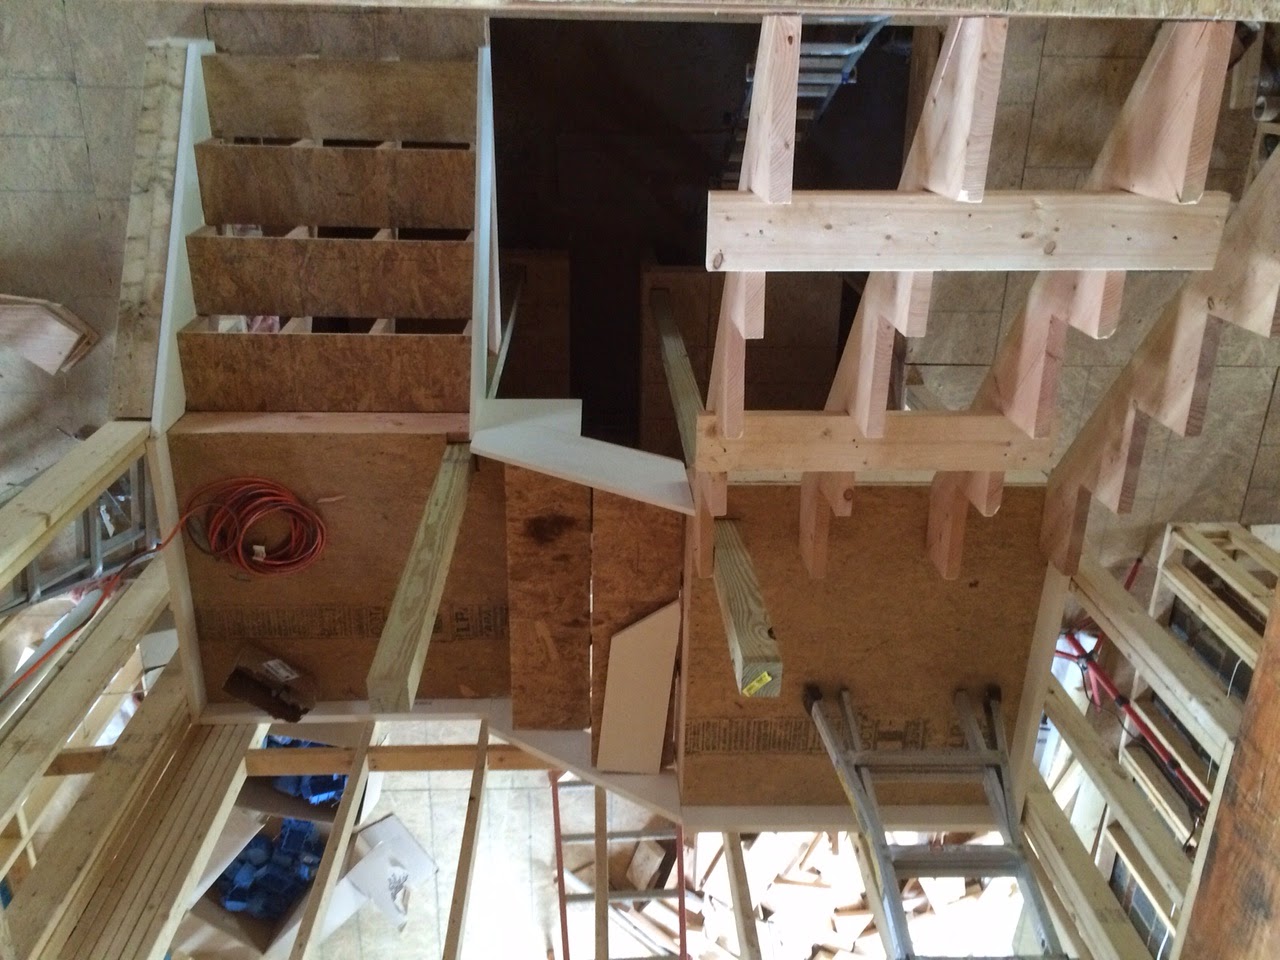
I realize that posting more pictures per post is not the same thing as posting more often...but it's about all I can offer at this point!  Everything is still moving along here - the exterior is now fully sided and just needs to be painted, the garage has been resided to match the house, and the guys are moving forward on what our contractor refers to as our "fancy stairs," an open staircase that will run from the basement to the second floor.  We've been working on small projects ourselves, including replacing an old basement door and redoing the old fireplace with new brickwork.  With spring weather here, Brian has also been putting the bobcat through its paces, smoothing the lawn and generally cleaning things up a bit.  Electric and plumbing are all well under way inside.  All is all, things are starting to shape up!

Siding on!  Paint to come

Side view
Old door

No door

Cutting back the brick an inch or so to fit the new door

And in!  Just need foam and trim.

Garage underway

Wrapped but no siding yet
We'll probably swap out the garage door but looking much nicer now!
Fireplace with old stone facade removed and starting to build it out again

More progress

Ready for new stone now
Sketching out the stairs but not safe for walking yet

View from the second floor

Starting to come together

Not quite ready for walking just yet but getting there!


Friday, April 3, 2015

The Cat is Back!

With apologies to my furry friends, we have a new cat in the family and it is the best one yet! About a year and a half ago, we said goodbye to our beloved bobcat after we finished the landscaping on the other house.  That was a great machine and we could not have done our driveway, patio, landscaping, etc. without it.  But, it was also a bit small by bobcat standards.  Now, with a bigger house, bigger yard, and a new landscaping project on hand, we decided it was time to get a bigger bobcat too!  We are now the proud owners of a 1998 863 bobcat with a smooth bucket and pallet forks.  Here it is, the newest member of the family...

Hello new friend!

We have plenty of work for you here!
For comparison, here's the old one - a great machine but much smaller
On other news, we keep moving along on the house too.  The back is just about finished with siding and trim now and they'll be moving onto the sides and finishing the front next.

Making progress