House

House

Sunday, November 1, 2015

How to (and how not to) stain maple countertops

This post may set a record for length...just like this project.  We decided a few weeks ago to take the "easy" option and install maple butcher block countertops in the pantry instead of marble or granite.  And at first, it was easy - we bought an eight foot and a twelve foot slab and plunked them down on the cabinets and it seemed like it would work out well.

But then we started doing the actual installation.

The first problem was that our contractor installed the electrical outlets too low on the wall to allow for a 4" backsplash.  Yes, Brian can move the outlets further up but doing so would involve pulling new wire so instead we figured we would just square up the countertops to the walls so a backsplash wouldn't be needed to cover up any gaps (and, of course, this is just a pantry with no sink so a backsplash would be purely decorative anyway).  This, however, meant that the countertops had to fit perfectly against the walls and that the mitered cut in the corner would have to be juuuust right in order to look good.  But, as it turned out, the walls themselves aren't perfectly square because...well...I suppose because that would have made this job too easy.

So, long story short(ish), we spent most of a day moving the rather heavy countertops in and out of the pantry to measure, cut, and dry fit them.  And we cut some drywall out so we could snug the countertops into the corners and the back wall.  And then we had to make sure the mitered cut was right since we only had one shot at it (unless we wanted to go out and buy some more countertops).

Getting started on figuring out the cut

Setting up a guide to use with the circular saw - no going back after this
Notice the cut drywall behind the short side?  Nothing in old houses is ever straight (or easy).
Whew!  It all fits.
At this point, we thought the hard part was done.  That was...incorrect.  Little did we know that maple is one of the harder woods to stain without streaking or blotching.  And, we planned to use a very dark stain too (the same combination of dark walnut and kona that we've used on our exposed parallam beams before).  Happy in our ignorance, we sanded to 110 grit, pre-treated the countertops with wood conditioner, and applied the stain.

Putting the stain on.  At this point, we still think everything is going really well.
But then we took the stain off...

See the weird vertical streaks at the bottom of the picture?  These were everywhere on the countertops.  This was not good.  
We stared at the countertops for awhile, tried to rub out the streaks, and finally realized that this problem was not going away.  So, we took a giant amount of mineral spirits and used that to dilute/remove most of the stain.  Back to step one with new stain...right after we aired out the house so we didn't accidentally suffocate ourselves with all the fumes.

Here are the countertops, post-mineral oil bath.  Streaks are gone but so is most of the stain.  
Before we tried staining again, we did some more research and - like so many things in construction - found that many people have many opinions about staining maple.  So our "method" was hatched from a combination of internet advice and intuition.

While we were figuring out how to fix the stain, Brian used his biscuit joiner to prep the counter for installation 
The first thing we did was to resand the countertops, this time to 220 grit.  Then we skipped the wood conditioner but diluted the stain itself with a splash of mineral spirits.  Next we used a paint brush and painted the stain on in horizontal lines (no rubbing and definitely no circles!).  Finally, we wiped the stain off right away (again, working only in horizontal rows), giving it just a few minutes to sink in.

Relief!  This time, no streaks
Both countertops look good
We put two coats of stain on in the same way to darken down the countertops (and held our breath each time).  Verdict: staining was a success.  Finally.

So, surely the next step would be the easy one?  We carried both countertops back into the pantry to join them.  We had thought about joining them before staining but figured it would be easier to handle them separately and put them together in place.  Based on our track record with this project so far, I'm sure you can guess whether or not we were right...

We just push these together and we're done?
Wrong.  There was virtually no way to get enough leverage to push the countertops together tightly enough to get a decent seam.  There are no pictures to illustrate the problem because at this point, we were too busy considering the merits of turning the countertops into firewood to take photos.

So, we carried the countertops back out of the pantry (for roughly the three hundredth time) and into the workspace (which will someday be known as the living room).  We joined them together using the biscuits and pocket screws (the Kreg jig continues to defend its title as Most Useful Tool around here) and then had to put yet another coat of stain on to make the new seam look good.

Now joined together.  But still, noticeably, not in the pantry.
Finally, we were ready to move the countertops back into place (again).  Since we now had a giant L-shaped counter to move, we called our friend Dan to come help (thanks, Dan!) and the three of us moved it into place.

FINALLY.
Remarkably, this project still isn't fully complete but we are getting there.  We need to apply a coat of polyurethane but we'll do that in place.  And we need to do some drywall repair.  And, of course, there's still all the finish work in the pantry at large (including paint, trim, open shelves, wine cooler installation, etc.).  But, thankfully, the countertops are in place, are basically the right color, and have the look we were hoping for.  Our "easy" project took something like four days spaced out over three weekends and involved a fair bit of frustration and swearing.

So, as I wrap up this far-too-long post for the far-too-annoying project, here are a few lessons learned.  First and easiest, don't buy maple if you plan to stain it.  I had a choice of maple or oak countertops and picked maple solely because I was a little worried that oak countertops would look too much like our oak floors...but I should have worried about the maple!  Second, if you're joining countertops, do it first.  We would have saved ourselves a lot of annoyance if we had just joined them before we even started staining.  Third, when it comes to staining, I still don't have a clear idea of what really works or why but if we did this again, we would sand to a high grit (at least 220) before starting, cut the stain itself with mineral oil before applying, and treat the stain like a very finicky paint - paint it on and wipe it off very very carefully.  And keep plenty of mineral oil on hand so if the first coat doesn't go well, you can dilute it and start over (and avoid the quick trip to the store that I had to make).  Interestingly, putting on the dark stain and then taking it off with mineral oil produced a really nice weathered look that - if we weren't set on having dark countertops to tie into the espresso cabinets in the kitchen - would have been a very nice, if accidental, finish.  With all that said, hopefully the next project will involve fewer lessons to learn!

Sunday, October 25, 2015

Pantry Progress

It may be a little counterintuitive to start kitchen installation in the pantry but we decided to knock these cabinets out of the way first since all the design decisions relating to them have already been made (unlike, for instance, figuring out where exactly to place the kitchen island).  This pantry is going to have a huge amount of storage, with four 33" wide cabinets, one 18" wide cabinet, open shelving on the walls, and a large wine cooler in the corner.  We're planning to install butcher block countertops but will stain them to a nice dark color to carry the same white/espresso look in the kitchen through to the pantry.  But, cutting and staining the countertops is going to be a story for another day.  Fortunately, Brian is a pro at cabinet installation at this point so he made relatively quick work of getting these wall cabinets installed.


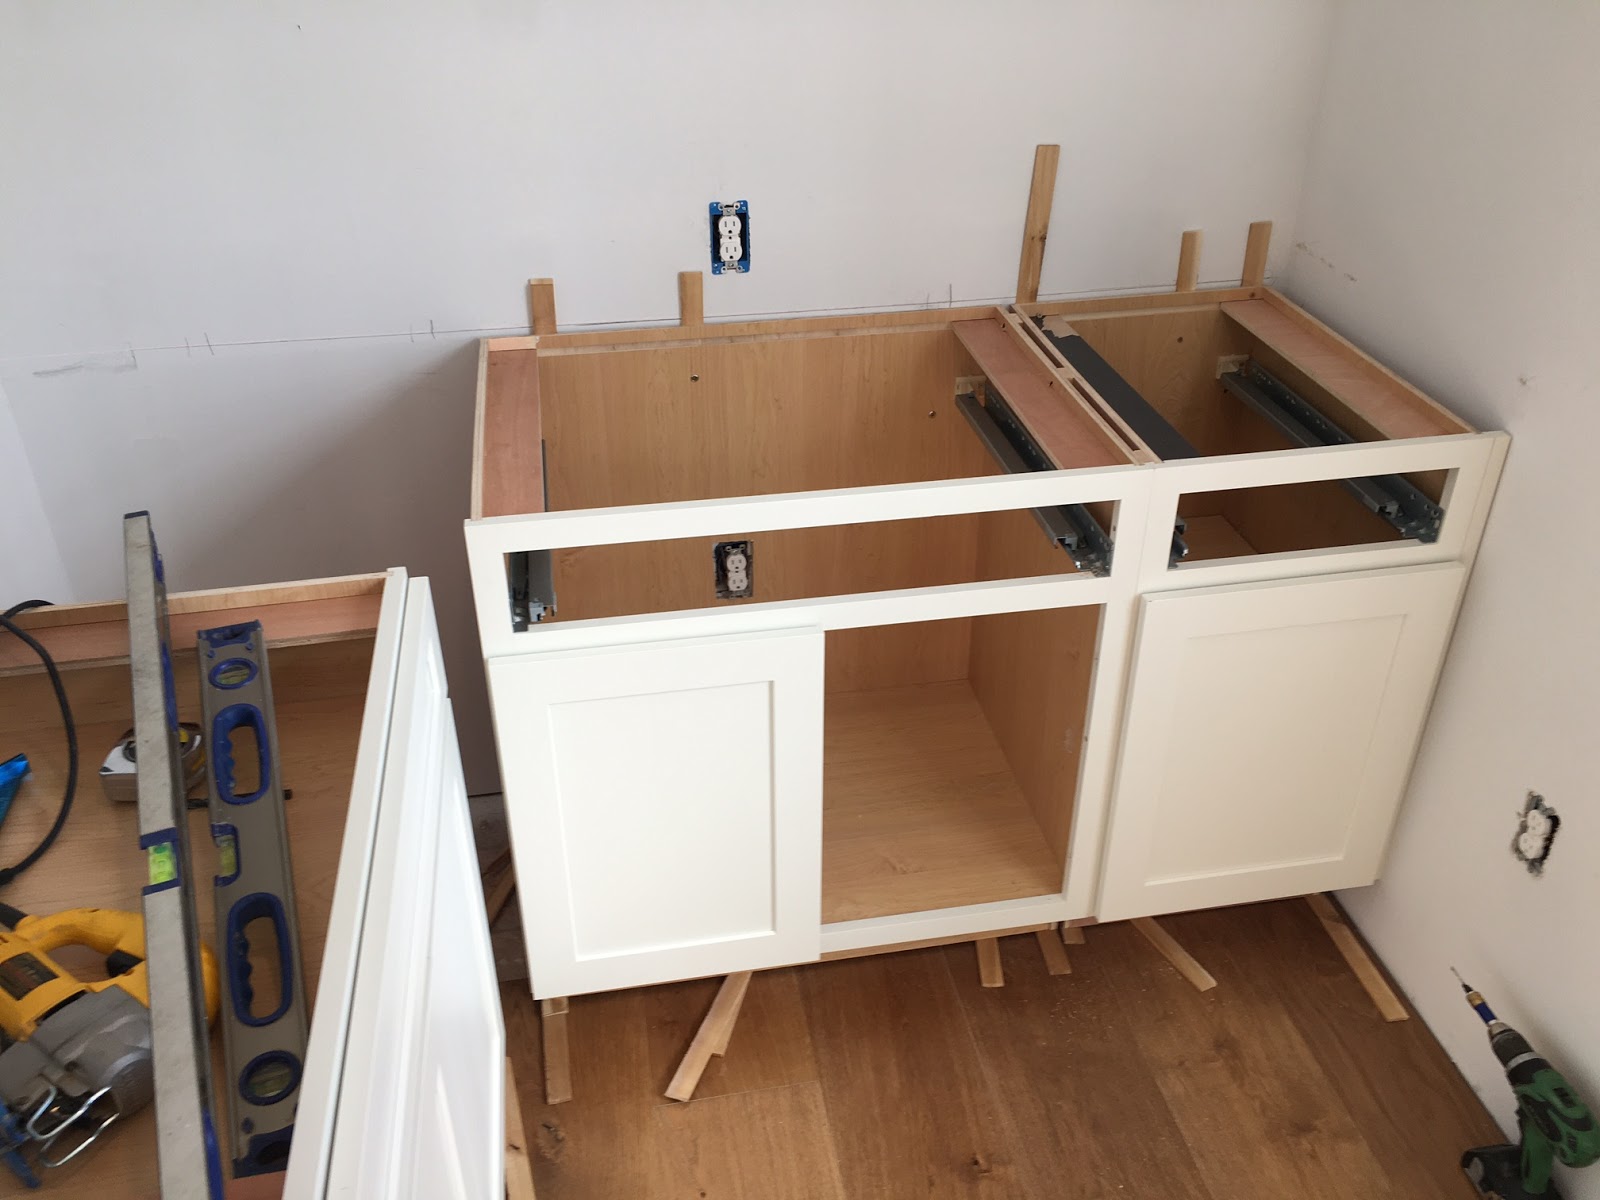
Getting started with cabinet placement

Shims to make sure everything is nice and level

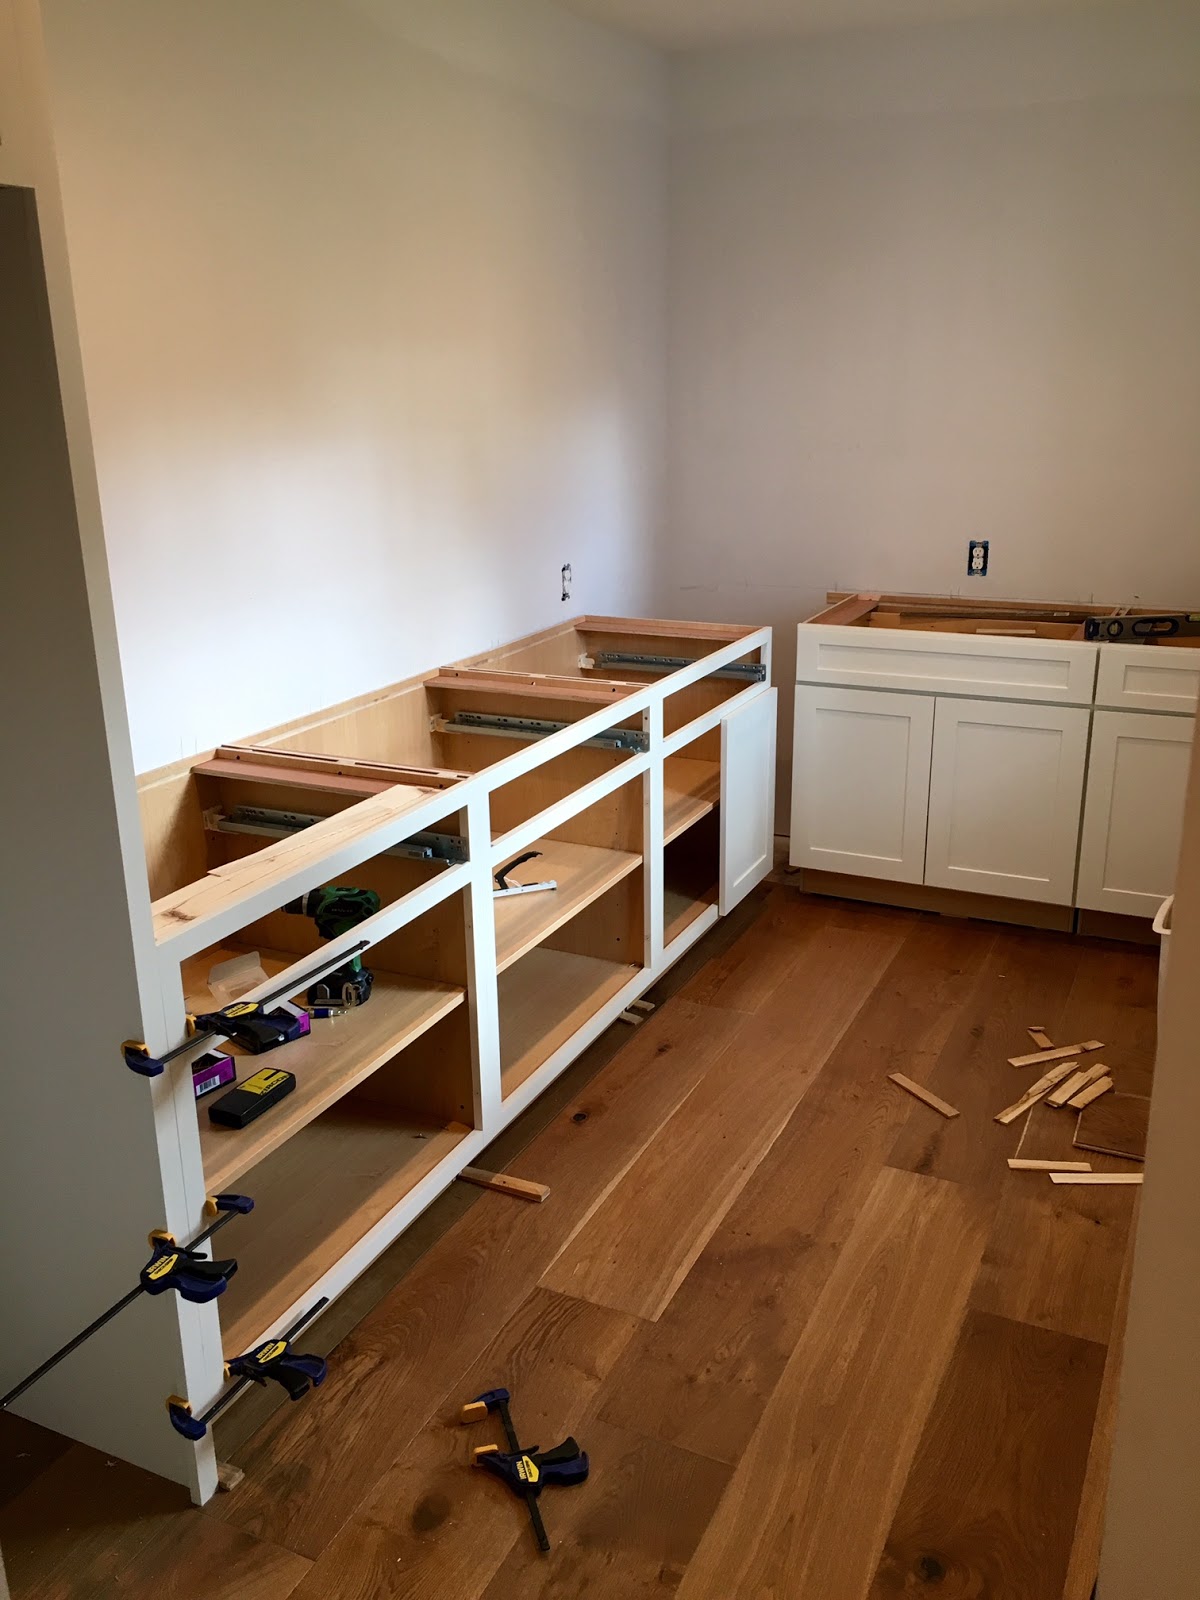
Working around to the other side, including the wine cooler cabinet

We had to custom cut the cooler panel but it all fits together nicely now

Still in progress

That looks better!
Doors on, drawers in, and unstained maple countertop just resting (not even dryfitted) on one side to see how it all looks

And one more picture from the other side to finish off the day

Saturday, October 17, 2015

Outside Improvement

We've been splitting our time between inside and out but have gotten our front porch to a good place for the winter.  We still have some additional trim and finish work to do but the stone is in and grouted and now the columns are trimmed out so we'll probably wait on the other work until next spring.  Our contractor had wanted to use prefab column coverings but Brian decided to custom make the coverings instead and it ended up with a much more polished look.  It took some time to design and then make the trim but we're really happy with the overall final look.


First up - a little bit random but we had a cap made and installed over the chimney to ensure that we don't have any moisture or rodent/bird problems going forward.
Getting started on the columns.  We ripped Azek to fit the columns and attached it to the pressure-treated wood.  Then we used more trim to build out the rest of the trim.

Adding more detail to echo the Craftsman-style trim on the rest of the house

Moving along

Now working on the other side

Who decided to use four columns instead of two?  Starting over again on the other side.

Now that's looking nice!

And a close-up.  Still a good bit of finish work to go on the porch at large but we'll call this finished for now.


Monday, October 12, 2015

Barefoot Friendly

With a couple weekends of rain, we moved to indoor projects and started installing the hardwood floors in the kitchen.  We chose an extremely wide plank (9 1/2") oak engineered hardwood for this house and so far, we love the way it's turning out.  There's a good bit of variability in the finished planks which gives the flooring a reclaimed wood look.  Because the planks are so wide, we're gluing and nailing the flooring.  It's a different install method than we used with the bamboo flooring on our last house (tar paper for vapor barrier and no glue) but hopefully this will work out well and keep everything in place without too much stress on the flooring.  Brian started the install using a PowerNail pneumatic nailer, which had worked perfectly on our prior bamboo floors, but found that it was creating the tiniest little indentations in the wood from the impact of hitting the nailer.  So, he then switched to using a Bostich trigger nailer, thereby increasing (again) our inventory of power tools in the house.

We also unpacked our kitchen and pantry cabinets, ordered from Cliqstudios.com, to inspect and move them very generally into place.  We went with Dayton white wall cabinets and espresso (or birch sable, in Cliqstudio-speak) island cabinets.  The kitchen space itself is quite big but it'll have a giant island and an eat-in table in it so it does not have that many cabinets - really just a relatively short wall of them, plus the island.  So, to provide extra storage, we're building an oversized pantry just off the kitchen with four 33" white base cabinets (and one 18" cabinet), plus we'll add a built-in wine fridge and open shelving on the walls.  As usual, I have a vision in my head...so now we have to see if it'll come together in reality too!  Off to the pictures...


A blank slate (complete with makeshift and very temporary window drapes) to start

Doing the prep work - planing and scraping the floors to make sure everything is nice and level


First row is always the hardest!  But it's worth taking the time to make sure the flooring is in straight.

Moving along now - these wide planks go in fast.

We paused to install the Wolf range so that we could floor around it.  Because the range sits up a bit higher than the countertops, we wanted it to sit on the subfloor.  Also, it's so heavy that it would be hard to get it in place without scratching the floors!  That odd garbage-bag covered mound in the middle is the Pex water pipes for the sink (covered to protect them from UV rays)

Suddenly this is starting to look like it might be a kitchen someday!  

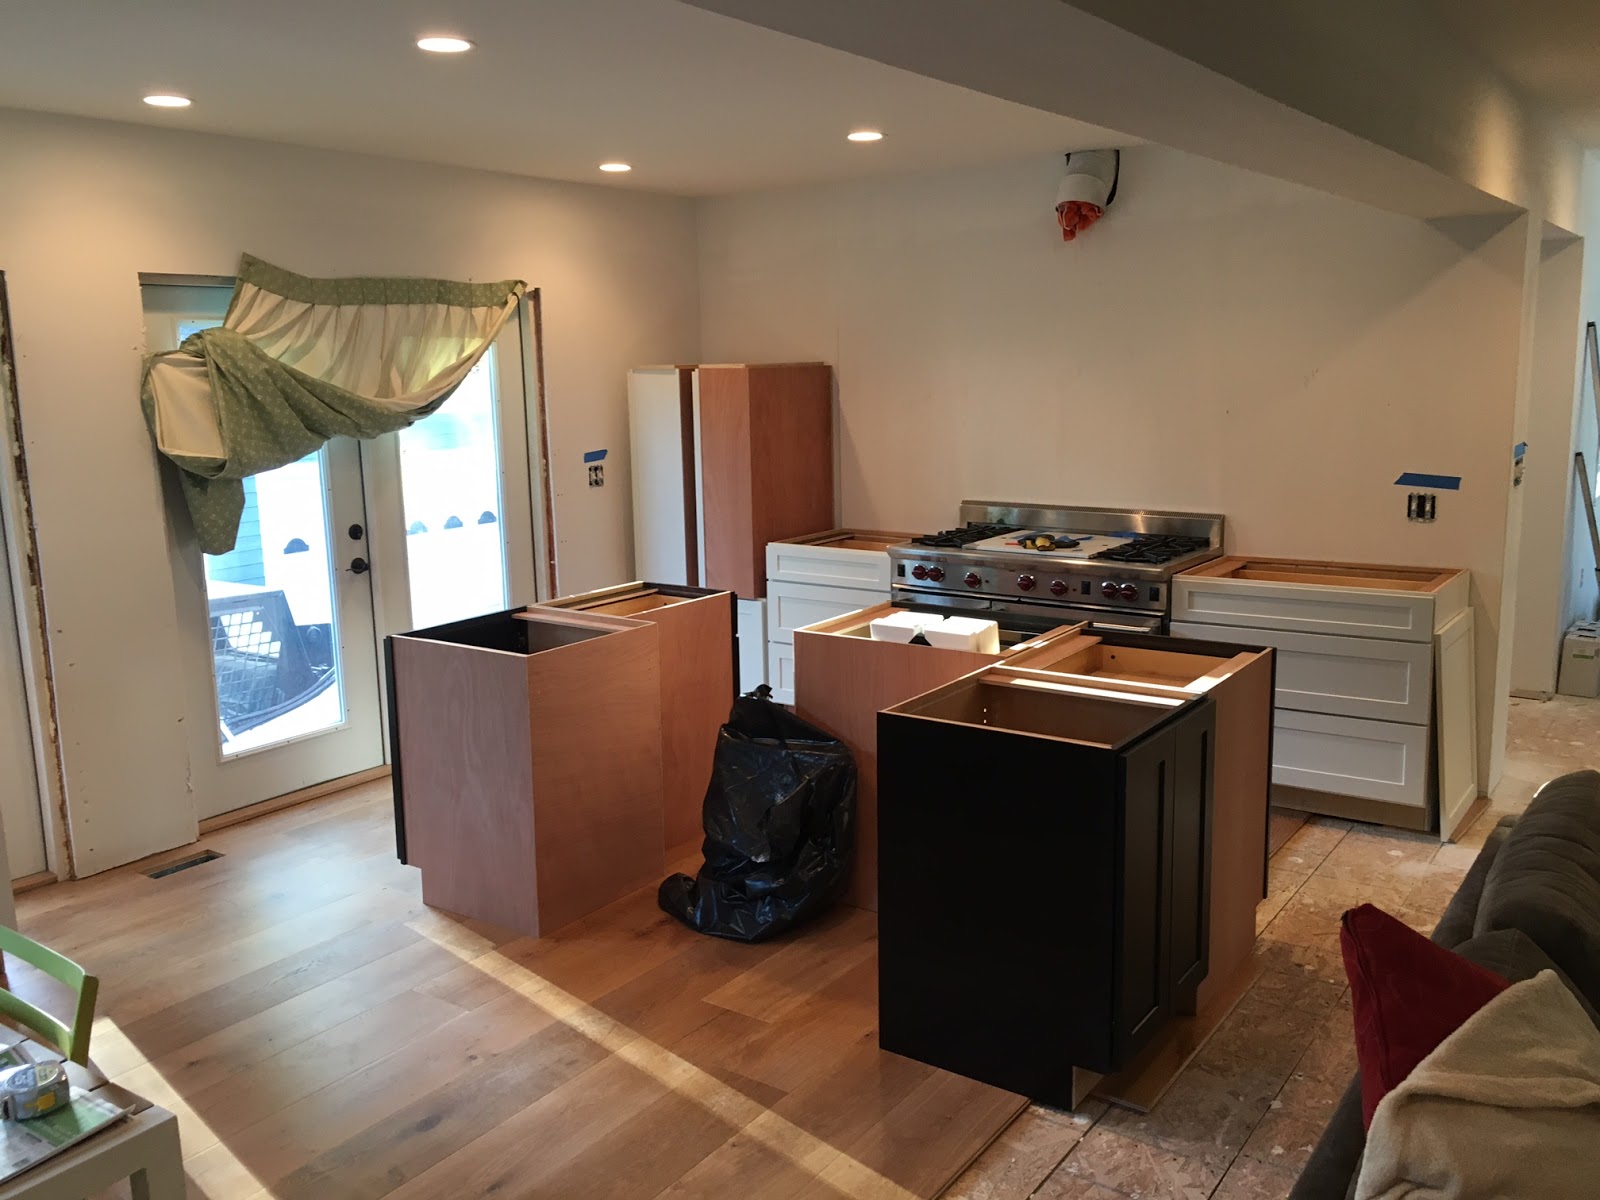
Approximating where the cabinets will go...
Moving into the pantry with the flooring

Lots of extra space here!


Sunday, September 27, 2015

Outdoor work

We've been taking advantage of the great fall weather to finish up some outdoor projects, including grouting the stone porch.  As so often happens with DIY projects, it took about twice as long as I would have thought (I very nearly suggested doing it one evening this past week...since it wound up taking about four to five hours total, that would have been a very long night).  Of course, a good part of that was drying time between tooling the grout but still - even just piping in the grout was more work, more difficult, and took longer than expected.  We were too busy to take pictures but we took two grout bags (which are an actual thing! which I did not know before this week) and piped the grout into each and every gap.  It was kind of like decorating the world's most solid cake.  Fortunately, the other project - ripping down the back fence - was faster and easier than expected thanks to the bobcat.  We bought the forklift attachment because it came with the bobcat, not because we necessarily were looking for it, but I have to say that it's turned out to be one of the more useful tools in our garage.  Putting the forks through the chain link and lifting turns out to be a very effective way of ripping a fence out of the ground.  And, of course, there's very little that the bobcat can't pull out with some tow chains.  All in all, it made quick work of it.  We may not install a new back fence until next spring but we wanted to get the old one down now so we could assess the situation and foliage and plan out our next move.  So that was a good task to finish up.  And now, for pictures...

I realized I neglected to post an "after" picture of the bathroom tile from a few weeks ago so...better late than never!  Here it is with the white grout.
Installing the capstone on the stone columns.  We used two 36" x 12" pieces of 1 1/2" thick Pennsylvania slate.  In order to get the right amount of overhang, we shaved about an inch off each slab's width and then cut out the wood posts.
Awaiting grout but stone installed 
And from the other side
Now with grout!  To get a slightly darker grout color, we added 1 tablespoon of black cement color to each 50 lb. bag of grout
And the other side
And from the front (complete with our very makeshift "walkway" consisting of the old concrete path, torn up and moved compliments of the bobcat, of course)
I forgot to take a true "before" but here's the back fence when we just started pulling down the old wood and chain link.  The house behind us is about to be demolished for a new build, so they have a dumpster (and we don't have any neighbors and therefore no loss of privacy with the removal of the fence)

Go, bobcat, go!

The quick way to remove a fence...

Tuesday, September 15, 2015

SMOTY


Stone mason of the year. At least on this project. Stone work isn't particularly hard, but it does require a lot of trial and error. Like putting together a jigsaw puzzle. You want it to look random and not perfectly designed. Mission accomplished? We've spent a few hours here and there on the weekends and a few nights this week finishing up. Stones are all mortared in and the tops are cut flush. Finally the porch stone is ready for grout and trim. Hopefully this weekend we will finish the stone bases completely. Adding some major curb appeal!


Sunday, September 6, 2015

Tile Time

We've been working away at installing one of the upstairs bathrooms so we can relocate to the second floor and finally escape the basement - where we have been living for 10 months!  When we moved down here last November, we didn't have a good idea of how long it would be before we lived above-ground again...and that was probably a good thing because I'm not sure I would have been very excited to commit in advance to basement living for nearly a year.  Of course, the top two floors are still a long way from complete but even partially finished above-ground space will be an upgrade in my book.  We did ourselves no favors on this first bathroom by deciding on a somewhat ambitious tile pattern - brick surround with a herringbone inset and marble mosiac picture frame.  Had we done something more simple, we could have knocked this out in a day or two.  Instead, we've been working away a bit every night and this weekend.  We used two different sizes of subway tile for the bathroom - 4 1/4" x 10" for the brick pattern and 3" x 6" tiles for the herringbone.  Although it's more time-consuming, I'm glad we did it as it's a nice combination of classic look with a custom touch.  And now for pictures...


Getting started with the brick pattern - we used a ledger board on the sides to make sure the lines stayed straight

Brick pattern almost complete

Working our way through the brick pattern and getting started with the inset

Finally!  Tile in, next step - grout